I’ve heard a lot about people using crockpots for making yogurt, but have always used the stove method for some reason. I don’t know why, though. . .a crock pot is just a large version of a traditional yogurt maker. Still, I guess I’ve just stuck with a familiar method all these years.
But my current stove’s oven light doesn’t seem to throw enough heat to keep things moving right along in the thickening process as well as I’d like. (I’ve resorted to chucking hot water bottles in with my dishes to ensure the temp stays warm enough through the night!)
So this crockpot method seems to be a GREAT alternative. . .depending more on the residual heat of the crockpot rather than an outside heat source. And, if I’m being honest, seems even easier than my usual method.
Here’s what you’ll need:
Equipment:
- Large crockpot (enough for a gallon of liquid)
- Long wooden spoon
- Large Towel
- Candy Thermometer
- Colander, Cheesecloth and bowl large enough to hold the colander (if you want to do an extra step for Greek Style yogurt)
- Ladle
- Small Bowl
- Storage containers
Ingredients:
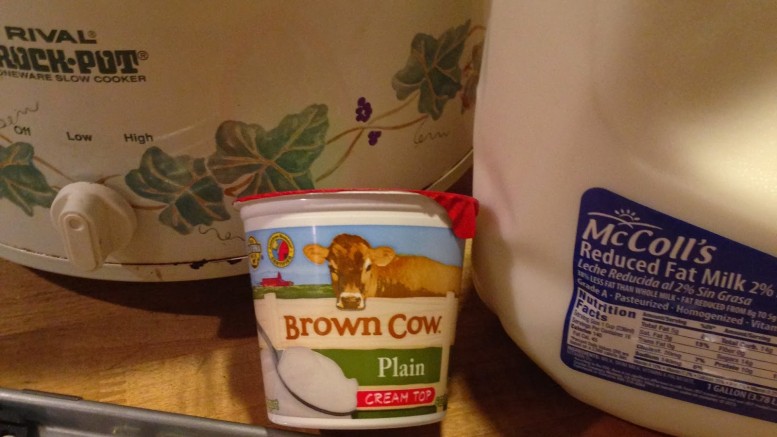
- One gallon of milk (you can use whole, lowfat or skim, but if you use 2% or lower, make sure it isn’t ultra-pasteurized. Organic is obviously best so watch for markdowns.)
- One cup yogurt, plain with active cultures (once you’re making your own, save some back to use as a starter for your next batch!).
Method:
 Make sure your equipment is spotlessly clean
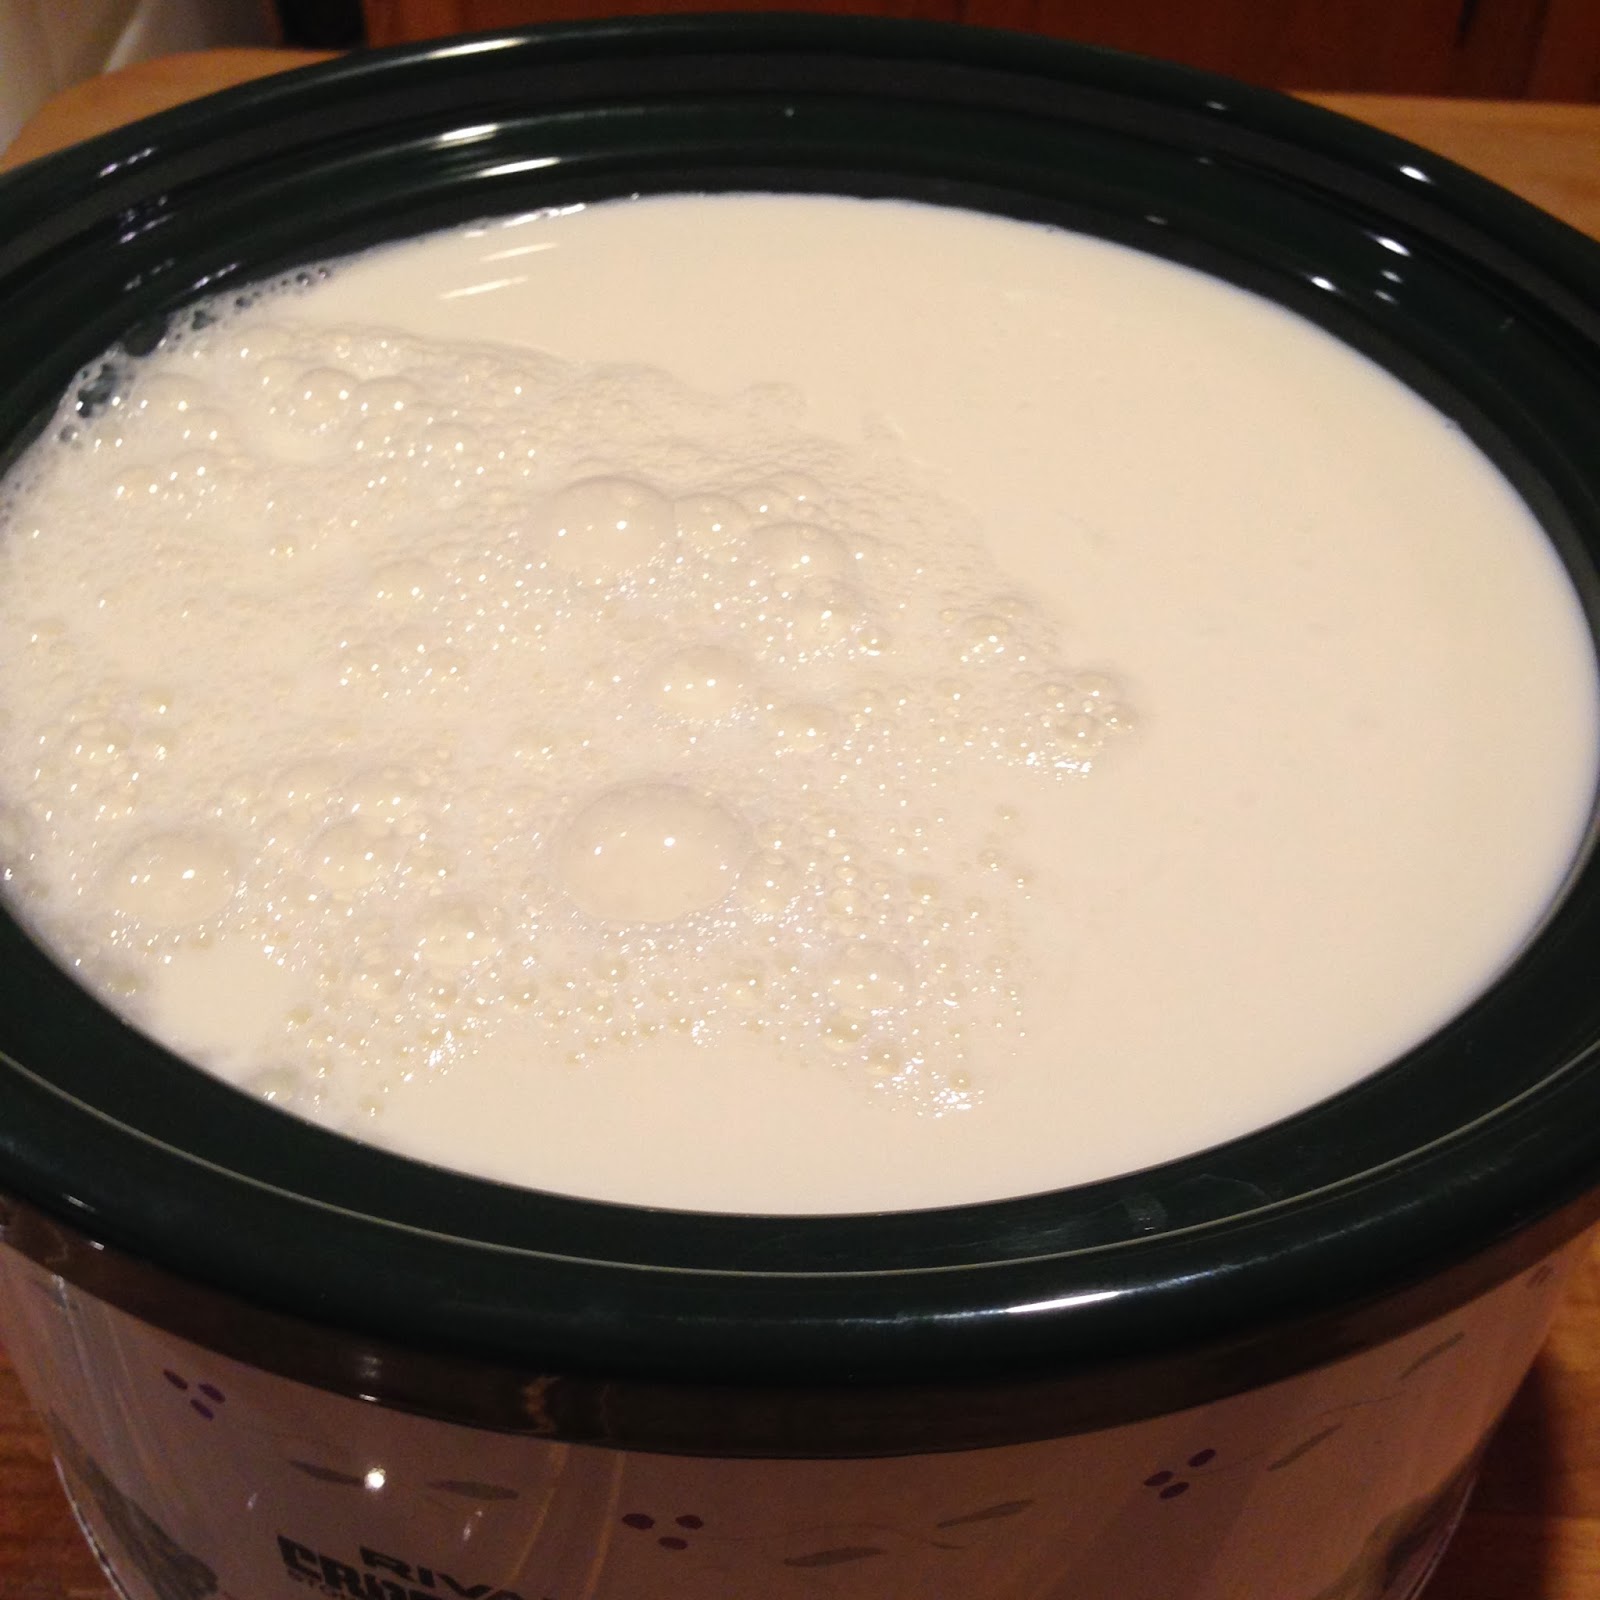
- Add milk to the crockpot
- Cover and turn on High
- When the temperature reaches 180 degrees, turn the crockpot off, remove lid and let cool
- Stir with a clean wooden spoon a few times during cooling
- When the temperature of the milk comes back down to 110-115 degrees, transfer two ladles full of milk into a small bowl and add one cup of yogurt
- Mix the yogurt and milk well and then add back into the crockpot
- Stir very well to insure everything is incorporated
- Replace lid and wrap the towel around the whole crockpot
- Set somewhere warm for at least 8 hours or overnight (if you put it into the oven, it will help a bit to keep it all more insulated)
- After at least 8 hours, check for thickness. If you’re happy with it, transfer to your containers and store in the fridge
- If it’s not quite thick enough, let it sit for another hour or two before
Or, if you prefer a Greek styled yogurt:
- Chill your yogurt for at least four hours
- It will thicken as it cools
- Slice it into cubes with a long knife
- Line a colander with four layers of cheesecloth that has been slightly dampened
- Pour your cooled yogurt in (as much as the colander can easily hold)
- Put the colander inside your big bowl (to catch the whey)
- Put the whole thing back in the fridge for an hour
- Save the whey that has been drained out for baking or drinking, if you wish, or discard
- Spoon yogurt into tight-lidded containers and return to fridge
- Enjoy!
UPDATE:
Some people feel that it takes too long to get the temp up to 180 in a crock pot, and I agree. I now heat my milk on th stove and then transfer to a crock pot for the rest of the procedure.
Also, I forgot to let you know the price breakdown, so here it is:
| Gallon of Milk: | $3.70 |
| 1 Cup Yogurt: | $0.501 |
| Total Cost: | $4.20 |
1(this is actually free to me as I keep a cup back from the previous batch as my starter for the next one)
Store bought yogurt cup portions are typically about 6 ounces, so you are getting just over 21 portions for only 20 cents per portion if you have to buy a yogurt starter, and 17.6 cents per portion if you use your own. That’s a huge savings, and SO much better for you that the store bought stuff!


An additional wonder is that the crock pot can act as a one-pot container for heating and incubating the milk when making yogurt at home. And it really couldn’t be much simpler.
Making homemade yogurt gives you control over the ingredients that go into it. But yogurt isn’t the only cultured dairy product you can make at home.