Trim your brisket, though leave some fat.
I feel a little guilty this morning. What with the faint spiced smell of home made corned beef still wafting deliciously through my mountain home after last night’s triumphant supper. So I know I may be a tad late for this subject, given that St. Paddy’s Day was yesterday, but it’s still worth addressing, in my book. Well worth addressing!
Why, well, after a luscious feast last night, I’m still looking at a week’s worth of scrummy meals using the leftovers. And when that’s all gone, I’ll be plotting the next time I corn my own beef (it happens at LEAST every 2-3 months in our home!). Corned beef isn’t just for St. Patrick’s Day around here! Try it once and you’ll see why!
“Corning” beef just means brining it in a concoction of salty water, onions, garlic, and pickling spices. After a few days, all that lovely flavor has permeated the meat and the result is pure heaven. When you’ve prepared it as you usually would the (watery, lifeless) supermarket version, it’s tender, moist, and packed with flavor you didn’t even know existed! And after THAT feast, the leftovers can be turned into equally scrumptious meals (corned beef hash or St. Patrick’s Day Pita Pockets, anyone??).
It’s very easy to do, too. Here’s how:
Ingredients:
- 1 Beef Brisket, trimmed of excessive fat (not all fat), weighing about 5-8 lbs after trimming
- 1 Gallons fresh Water
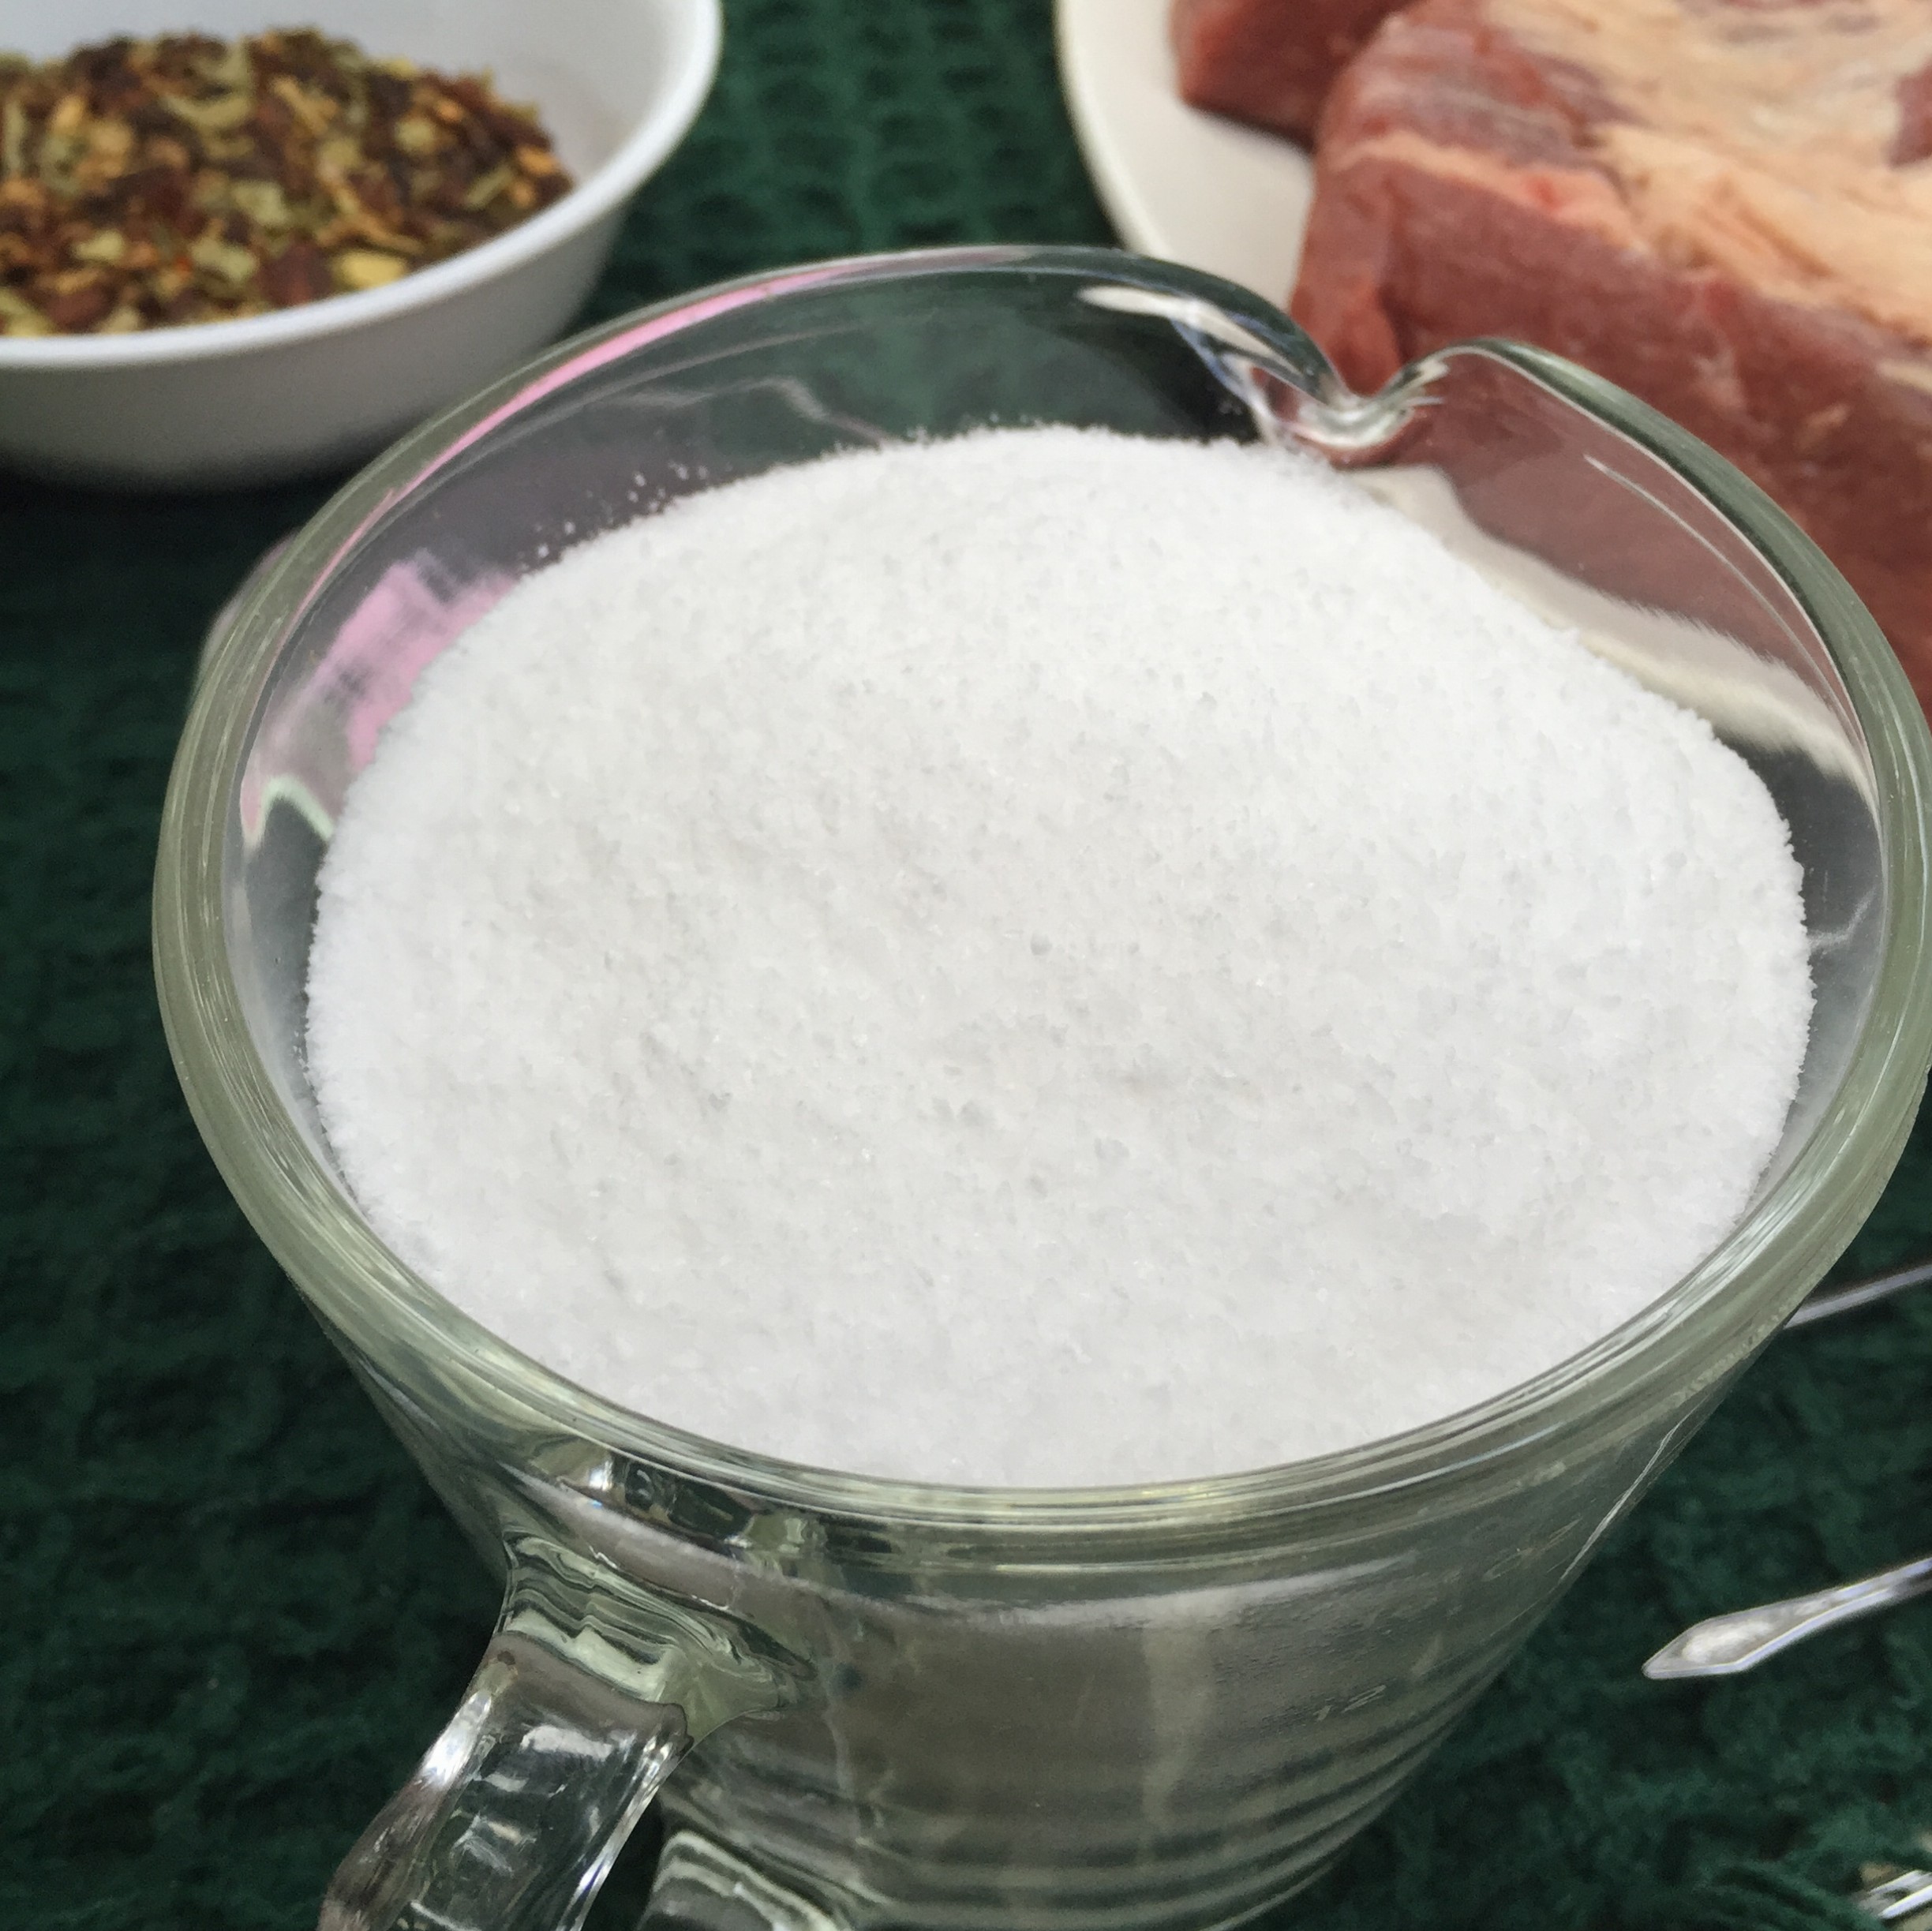
- 3 cups Kosher Salt
- 4-6 cloves of fresh Garlic, peeled and roughly chopped
- 1 large Onion, rough chopped
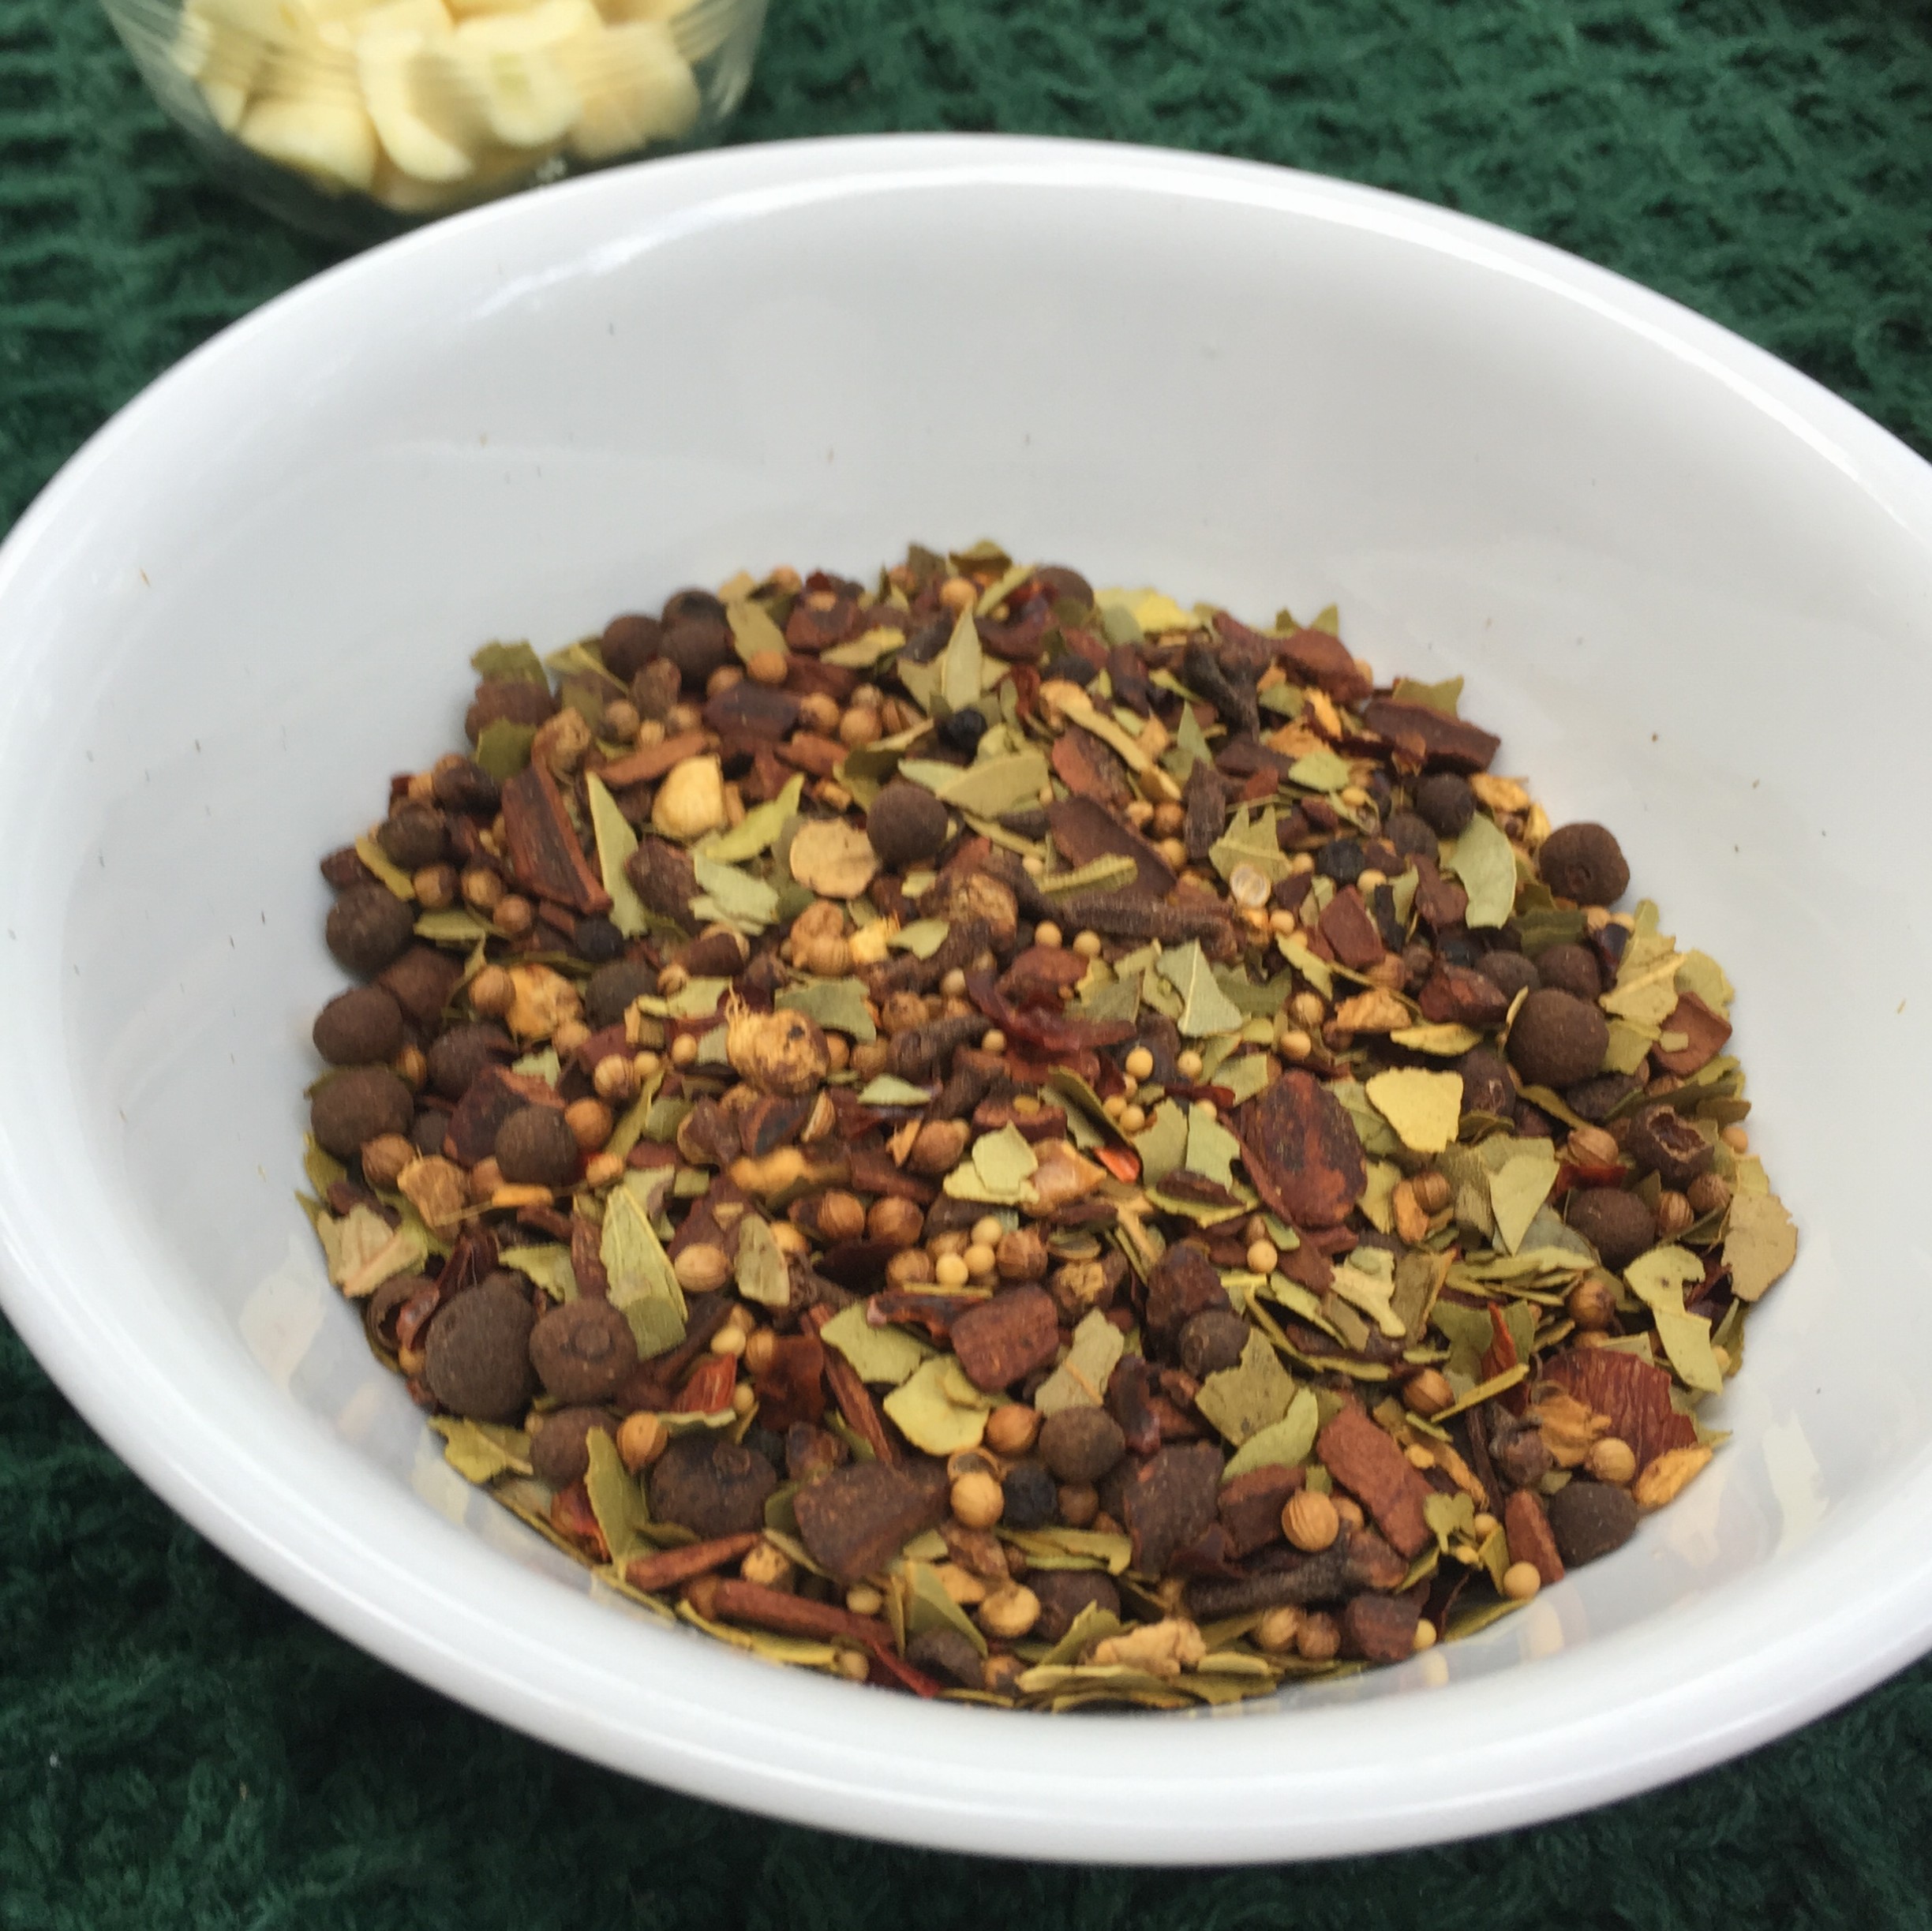
- 2 tablespoons whole Mustard Seed
- 2 tablespoons whole Coriander Seeds
- 1 tablespoon whole Cloves
- 3 tablespoons whole Peppercorns
- 2 large Bay Leaves
- 1 tablespoon Thyme, whole leaves
- 1/2 cup Brown Sugar
- 1/4-1/2 tablespoon Red Pepper Flakes (Completely optional! Only if you like a bit of spice!!)
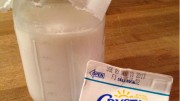
- Also, very optional: 5 teaspoons of ***Pink Curing Salt (more on that subject below!)
- 2 Gallon Ziploc Bag


Method:
- Use a large enameled or stainless steel (NOT aluminum or cast iron) roasting pan, pot, bowl or crock. Mix the salt and the water and stir for several minutes until all the salt is dissolved. Though it’s tempting to add the salt to warm or hot water, as it will dissolve faster, you’ll then have to wait until the water has completely cooled to proceed (warm water and raw meat is NOT a safe combination!!). So I just use very cool water and take the extra minute or two to dissolve the salt. If you don’t have a big enough bowl or container to hold everything, you can use a smaller one, halve the water at this point and then add the remaining water when you fill the ziploc bags. Set aside.
- To a small, dry frying pan, add mustard and coriander seeds, cloves, peppercorns and red pepper flakes (if you’re using them!!). Heat over medium low, stirring frequently, until the mixture begins to smell fragrant and the seeds just begin to pop. Turn off the heat, give it one last stir, and transfer to a heat proof bowl to cool.
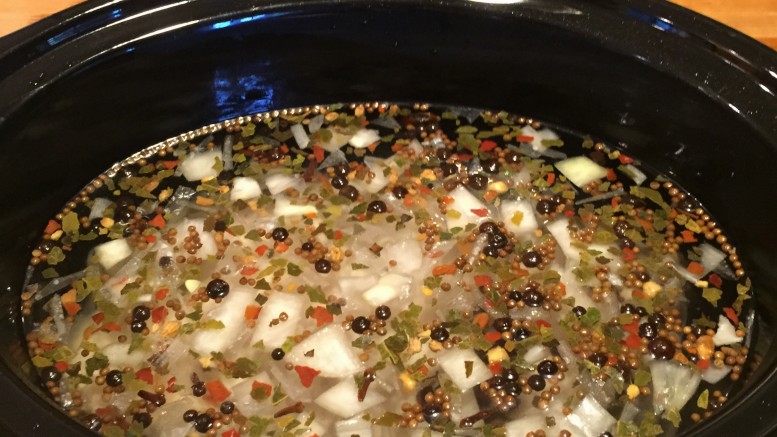
- When the spices are completely cooled, crush them lightly with a mortar and pestle and then combine with the remaining ingredients (onions, garlic, bay leaf, sugar, etc.) with the salted water. Stir well to mix.
- Add the brisket to your ziploc bag.
- Carefully pour your brine into the bag, adding the remaining water if you didn’t have room enough in your bowl.
- Squeeze out as much air as you can. You want to make sure the brisket remains completely submerged at all times.
- Lay sealed bag on a large platter or baking pan (to catch any juices should they leak!)
- Refrigerate for 4-5 days, turning the brisket once every day and squishing the brine around a bit to make sure it stays mixed. If you’re in a particularly big hurry, you have reasonable results after 3 days, but if you have the time, wait the full five.
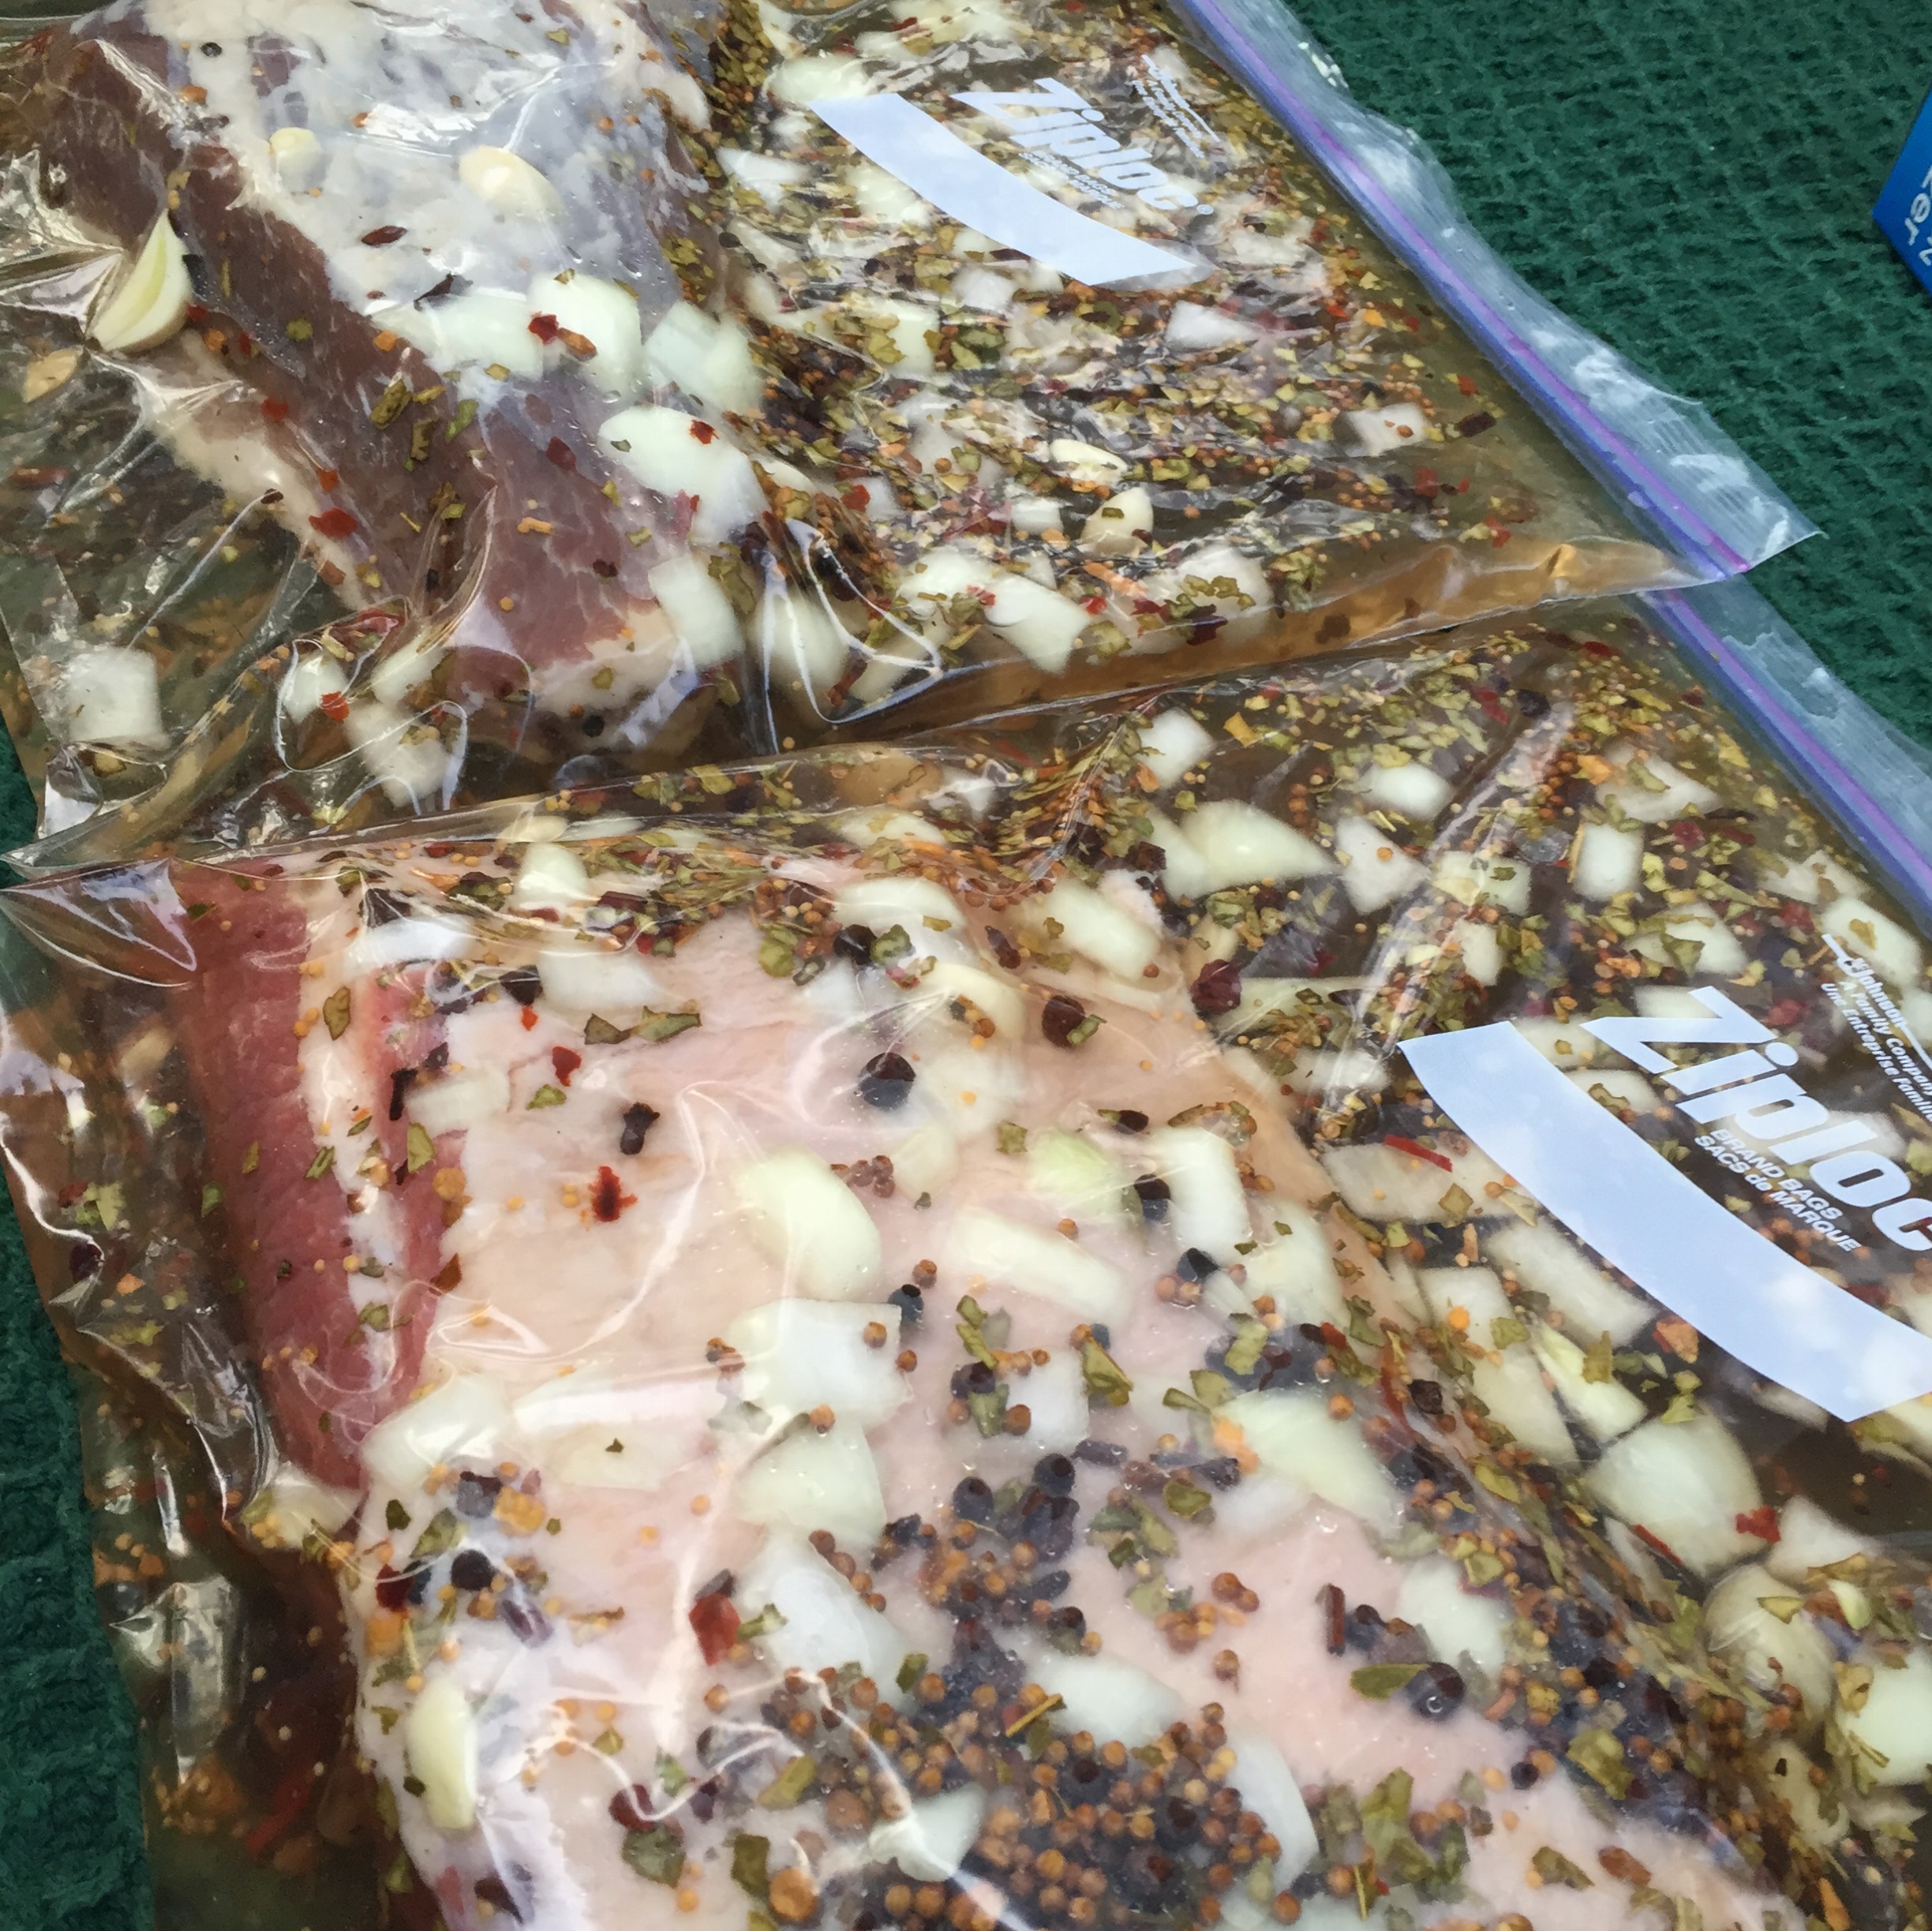
Removing air means brine is never out of contact with the meat.
Cooking:
- When you’re ready to cook, remove the brisket and rinse well several times in fresh water.
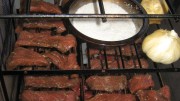
- Place in a crock pot or dutch oven.
- Strain off all the seeds, leaves and onions, etc. into a fine sieve.
- Rinse very well to remove excess salt and add to the crock pot, too.
- Cover with fresh water and cook as usual. (I throw it in in the morning and by dinner, the meat is luscious, flavorful, and so tender it’s falling apart!)
Quick Tip: If you’re short on time, you can replace the individual pickling spices with 10 tablespoons of store bought pickling mix. It will still be yummier than anything you can buy pre-made!!

After rinsing meat AND spices/onions well, add to pot.

Cover with fresh water by about an inch.
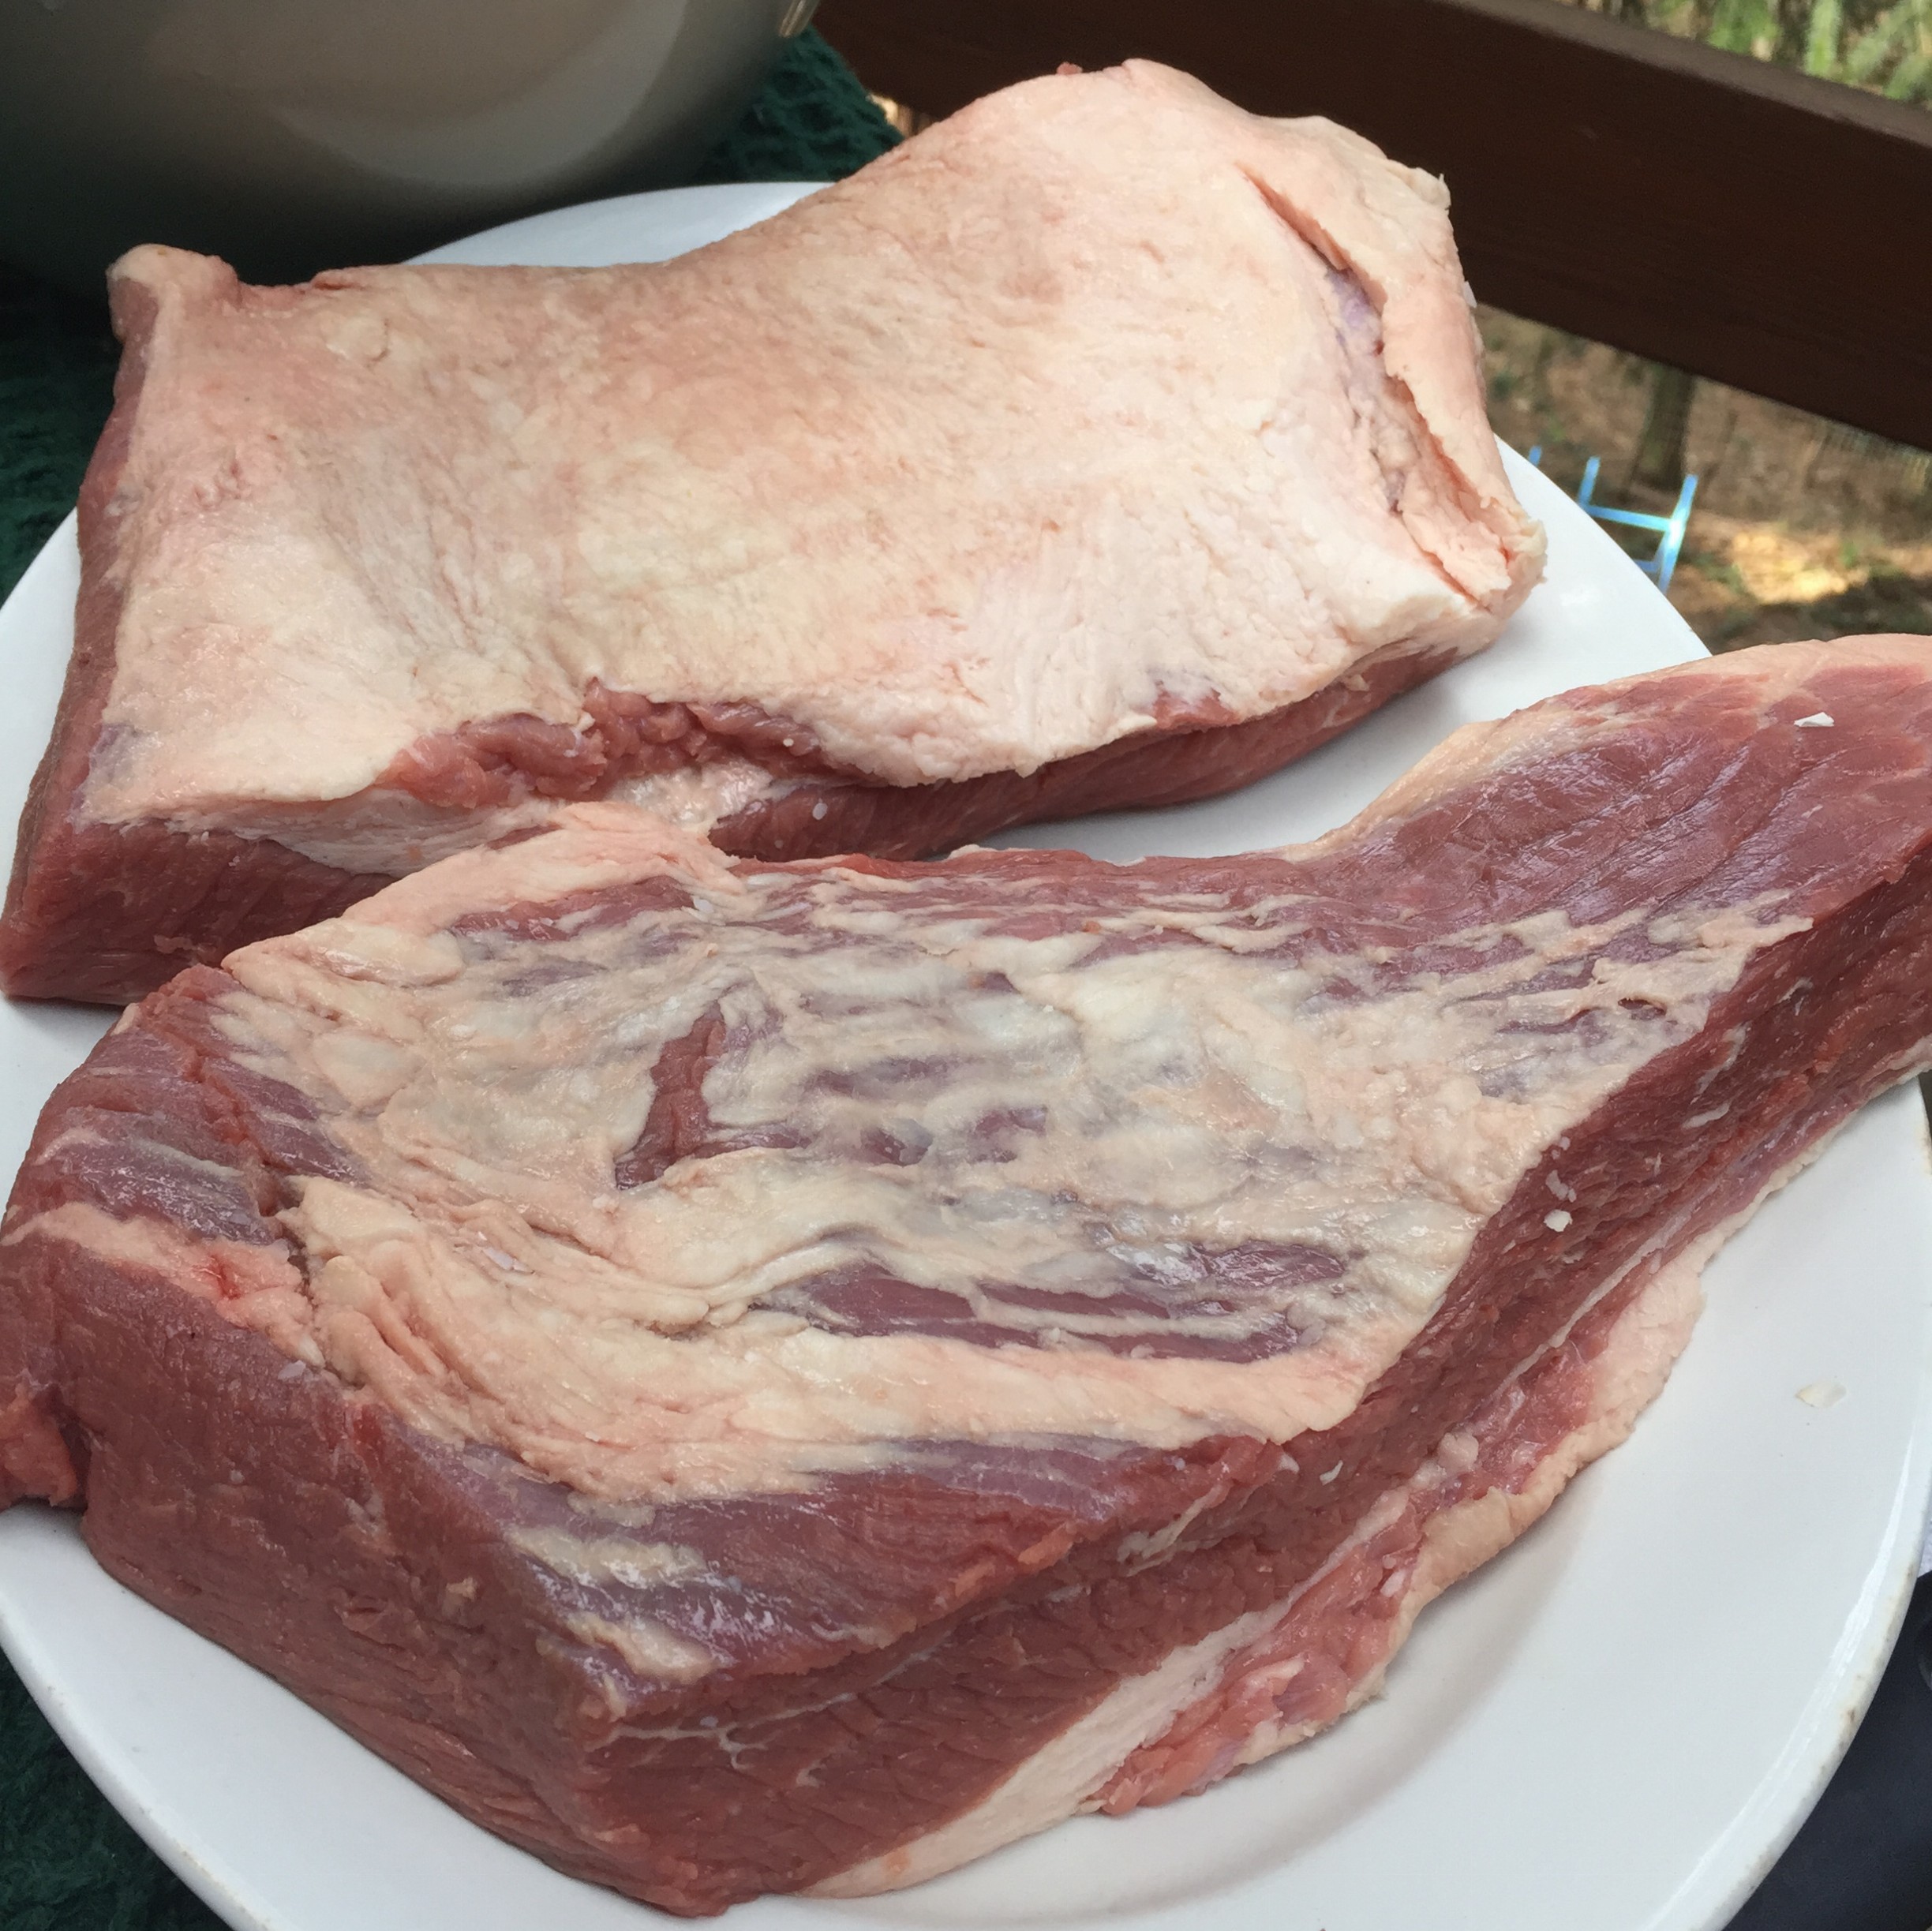
***Pink Curing Salt: Okay, so here’s the deal on pink curing salt: to be honest, I’m not a fan. Though it’s absolutely necessary to get that pink meat color that’s traditional in corned beef (and ham and sausages, etc.), I just don’t like adding any kind of nitrates or nitrites to my food, which is what it’s full of. There are a whole lot of studies that point to nitrates and nitrites as culprits in a lot of medical problems. So, if you’re after unbelievable taste, but you don’t need that traditional pinky meat color, I’d recommend leaving the pink curing salt out. If you have to have it, though, add away!

Not surprisingly, pink curing salt is, well, pink!

Same exact recipe, amount of time brining and cooking method. Only difference between the top and bottom meat is that the top had pink curing salt added to the brine.

Be the first to comment on "Making Home Made Corned Beef"