Fresh pork belly. Already looks like bacon!
A friend of mine recently asked me if I have any recipes for home-made bacon.
Moi?!?! Bacon?!?!?! Of COURSE I do!!!!! So, purely in the interest of helping out a friend (cough, cough!), I thought I’d dedicate today’s post to that delectable treat!
Normally, I’d show the whole process from ingredients to finish in one post, but if I do that, you won’t be able to enjoy this treat quite so soon! So, I’m going to do something a little different this time: I’ll be updating this post throughout the process. Run out now and get some pork belly!
Making your own bacon at home isn’t as hard as you might think and the results, like most ‘made-from-scratch from awesome ingredients’ recipes, are FAR superior to store bought replicas and worth the extra effort. Nitrates and/or Nitrites are found in most store bought bacon and I don’t like to consume them. They generally have a bad rap (as a potential carcinogen and as a notorious inducer of migraines). So making your own bacon at home is a MUCH better option if you want to avoid those nasty additives. PLUS, making your own bacon is a FRACTION of the cost of store bought bacon! Win-Win-WIN!!
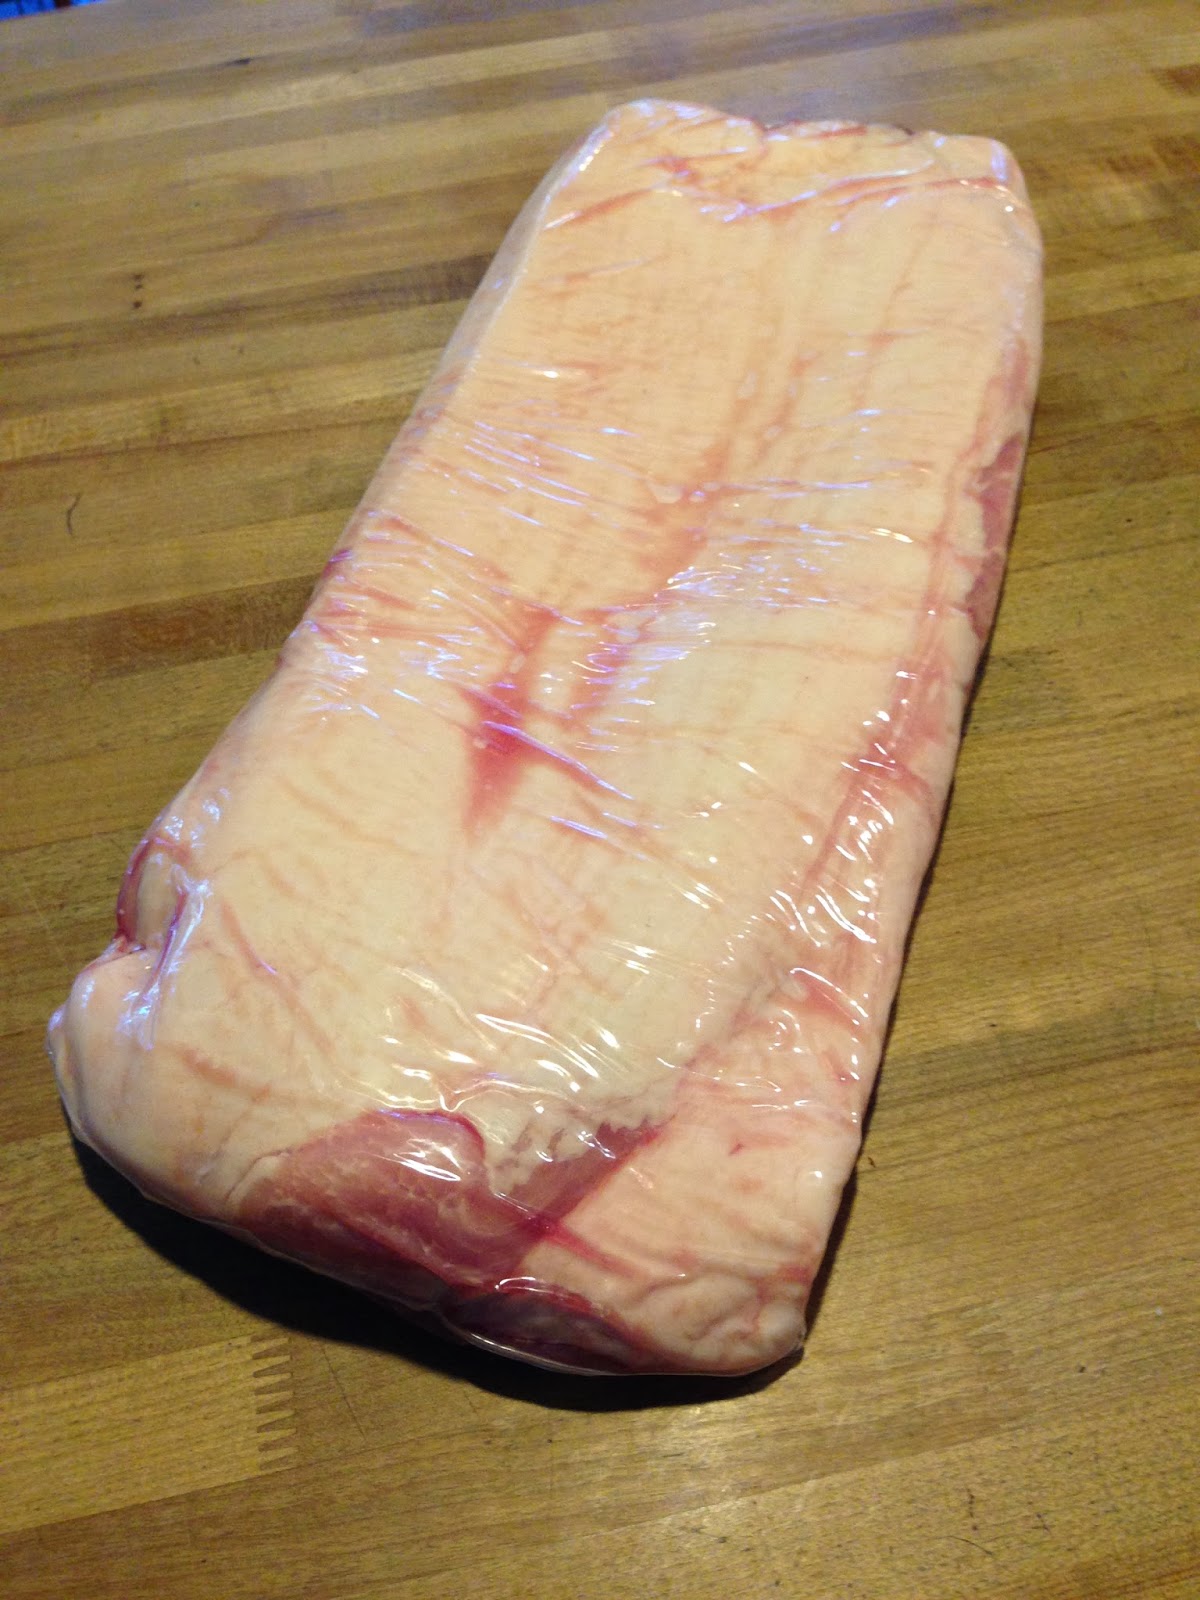
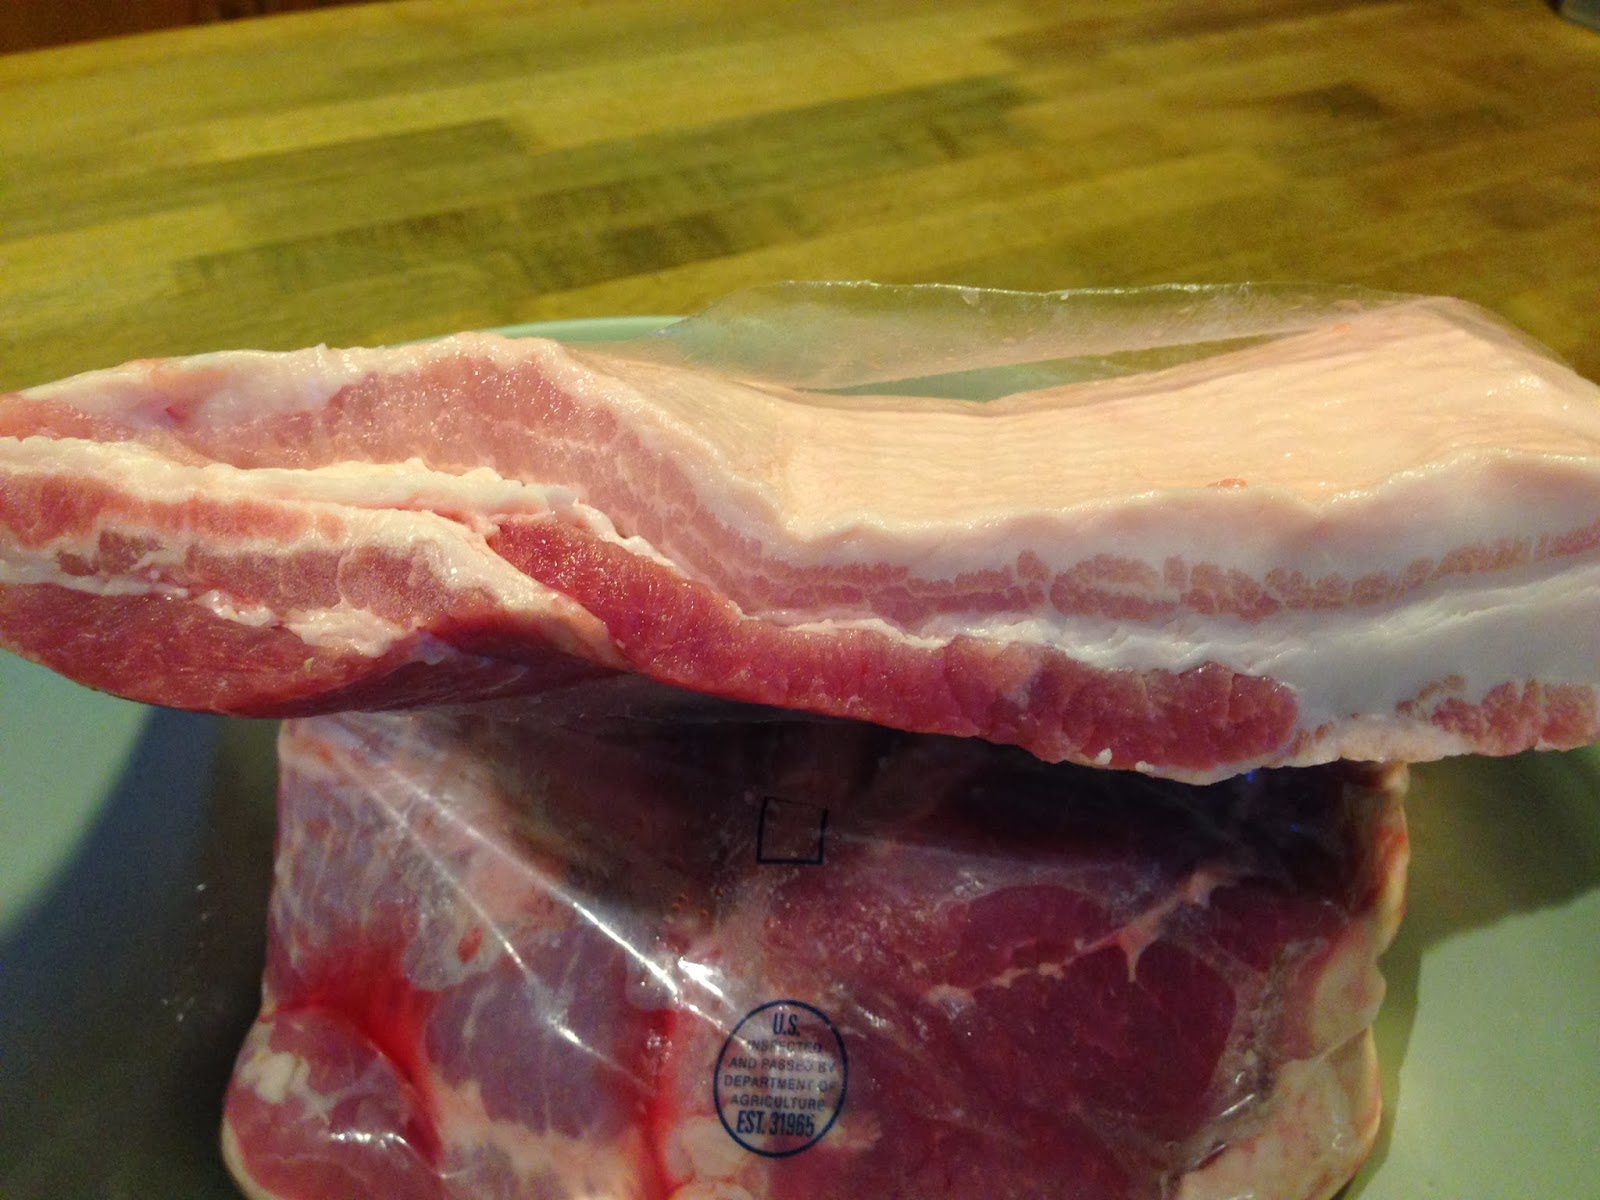
This is the fat side up.
Okay, to start, you need pork belly. Most supermarkets don’t carry it, but don’t be afraid to ask the meat department if they can get it. . .sometimes they can. I get mine from a proper butcher in a nearby town. Some people don’t even realize they still exist, but you can often get great quality meats, in normal portions or bulk, for a better price than at supermarkets. The place I use (Longhorn Meat Company in Auburn, CA) hangs and processes meat properly for full development of flavors and will cut meats any way you like. Their variety of meats, sausages and jerkys are awesome, too. But I digress! Back to the bacon!
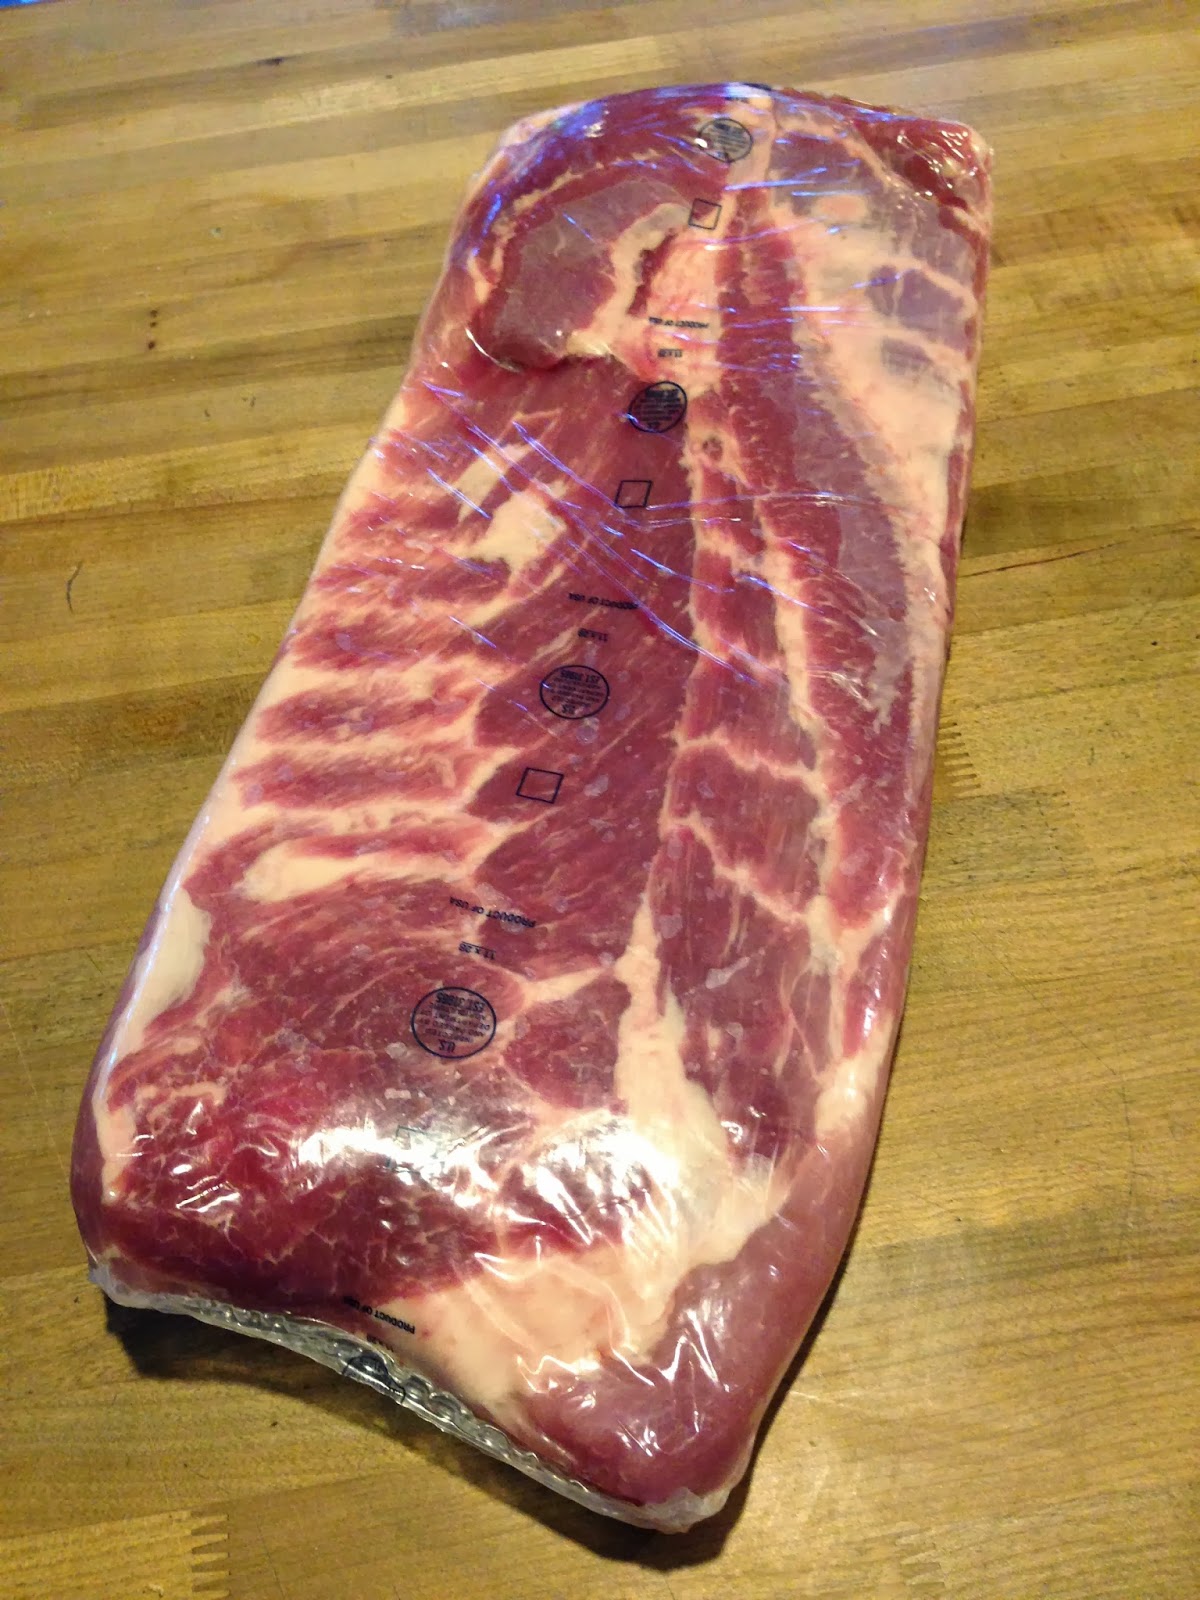
This is the meat side up.
I purchased a whole pork belly side, which was just over nine pounds. The price was $1.98 per pound, so the whole side was about $18. Mine had the rind already removed, but at some butchers, it often isn’t. Leave it on and remove it after curing if it is there. You can even make chicarrones with it if you like!
You will need lidded containers that are NOT METAL to store the meat while curing. I’ll cut this 9+ pound slab into 3 portions, trimming if need be to make equal rectangles, which cure more evenly, and place them in long, flat tupperware containers. Gallon size ziplocks would work, too) Make sure your chunks of meat aren’t too small when you are done. . .no smaller than 1 1/2 pounds, preferably 2.
Recipes vary widely according to your personal tastes. I prefer dry cures to brines (less messy and space consuming), and love the results, so that’s what I stick with. Here are a few sample recipes to get you started, but feel free to experiment with seasonings and flavors. . .you might be surprised at what a little creativity can result in!
Basic Dry Sugar Cure (for about 7-9 pounds of pork belly):
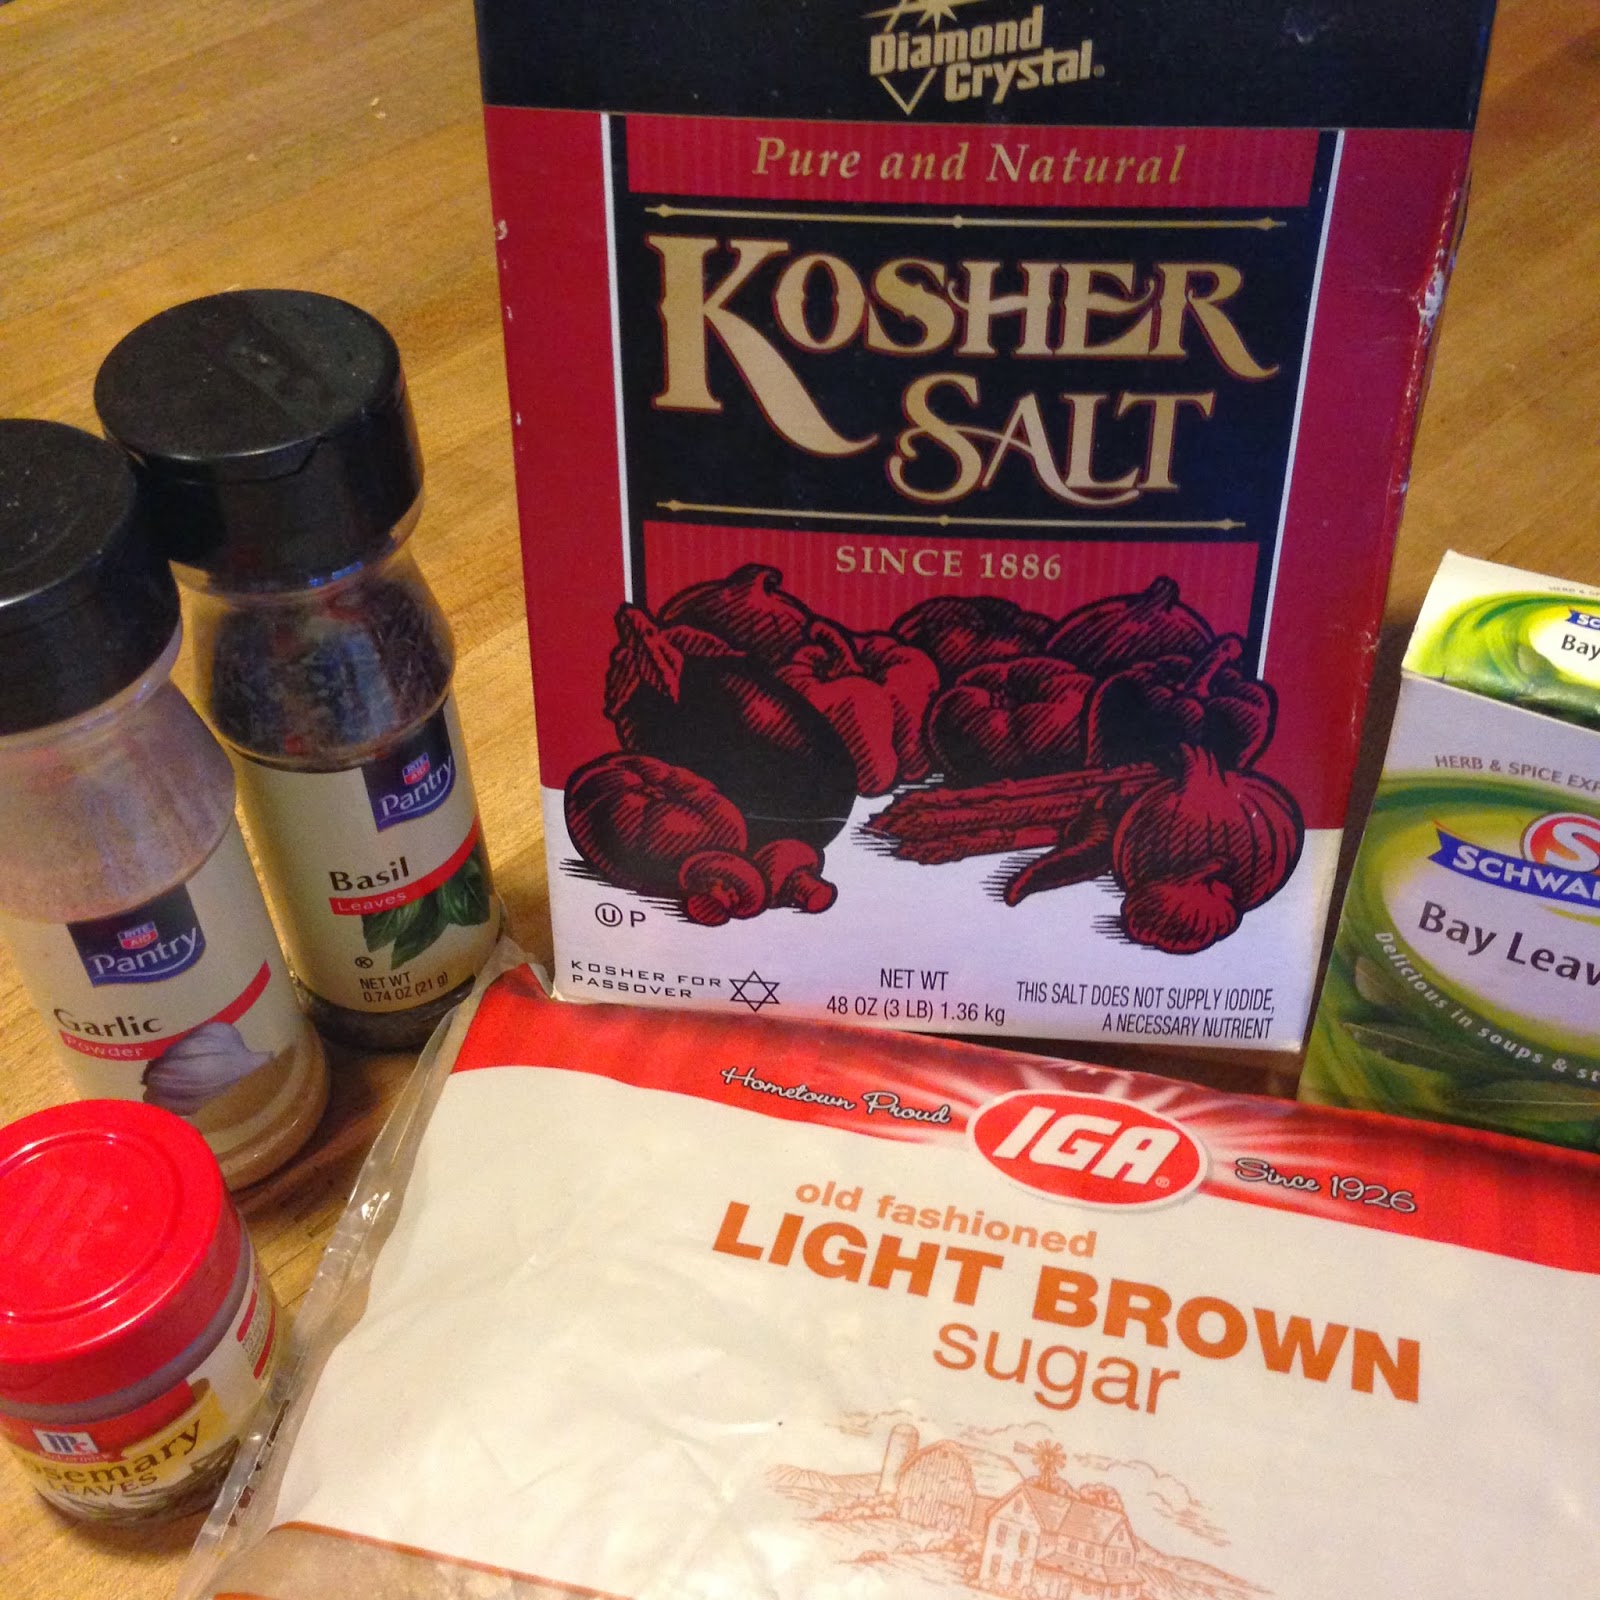
- 2 Cups Kosher Salt (table salt is way too fine and sea or rock salt is too coarse)
- 1 Cup Sugar (white works, but brown sugar, either light or dark, imparts far more flavor)
That’s it! (if you need more of the cure for larger portions of meat, the proportions are always 2 parts salt to 1 part sugar)
Seasoned Dry Cure (for about 7-9 pounds of pork belly):
- 2-3 Cups Kosher Salt
- Seasonings of your choice (rosemary, garlic, black or pink peppercorns, bay leaves, mustard powder, molasses, ancho peppers, maple sugar (real), honey, bourbon, etc.)
That’s it!
Method:
For both of these cures, mix ingredients together. Rinse and pat dry (with paper towels) your trimmed meat. Sprinkle both sides with your cure and rub in, making sure to coat all sides and work the salt into the meat. Sprinkle another decent layer of the cure on both sides of the meat and lay in a non-metal container or place in a gallon ziploc bag. Store covered in the fridge.
After 24 hours, drain off any liquid and sprinkle with more cure. Repeat every day for 3-5 days, or up to no more than 6-7, until you are happy with the results. The meat will get firmer each day as liquid is extracted, but it will also get saltier, so take that into consideration. Depending on the thickness of the pork belly, I usually aim for about 4-5 days.
On the final day, rinse the meat thoroughly, removing all remnants of the cure and pat dry. Let air dry and rest for at least 8 hours or overnight in the fridge uncovered. From here, you can either smoke the bacon (hickory or applewood chips are AWESOME!) or roast it in the oven if you don’t want a smokey flavor. Either way, ensure you heat at only 200 degrees and cook until the internal temperature is 150 degrees. Start checking in the smoker at about an hour and in the oven at about 1 1/2 hours. You don’t want to cook the bacon. Whether you keep a steady stream of smoke, or lightly smoke the bacon is up to your personal preference. I like it fairly smoky, so I keep it in about 75% smoke. Wrapping with foil for part of the smoking time moderates the smokiness, too.
When 150 degrees is reached internally, remove from heat and let it cool completely. All that is left to do is slice and cook. You can slice and freeze the bacon, or store it whole. In the fridge, it will be good for at least three days. Never lasts that long, though!
NOTE: Don’t ever touch the cure with hands or implements that have been in contact with the raw pork. If that happens, discard any of the cure you are not immediately using and make some more for the next day.
FIRST UPDATE:
I cut the side of pork belly into three slabs. The largest, about half of the slab (4-5 pounds), I used a traditional brown sugar/maple cure. I used the above basic sugar cure (using brown sugar of course) and once it was rubbed in well, I lightly coated the meat with about a quarter cup of REAL maple syrup (don’t use the fake stuff. . .it will not work well).
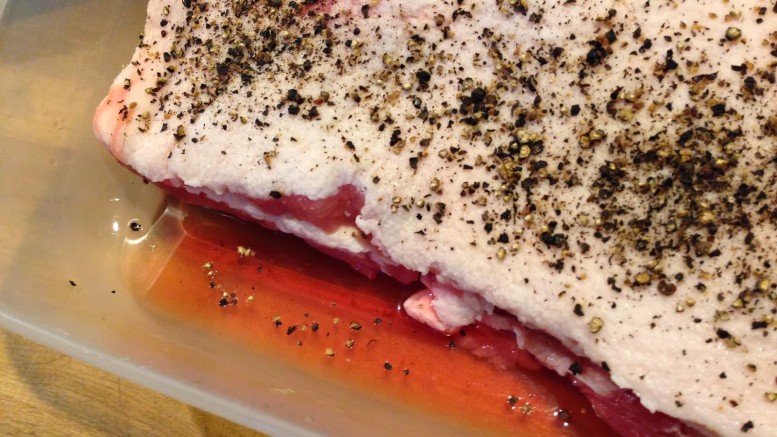
On the first of the smaller slabs I used only salt and lots of freshly ground black pepper.
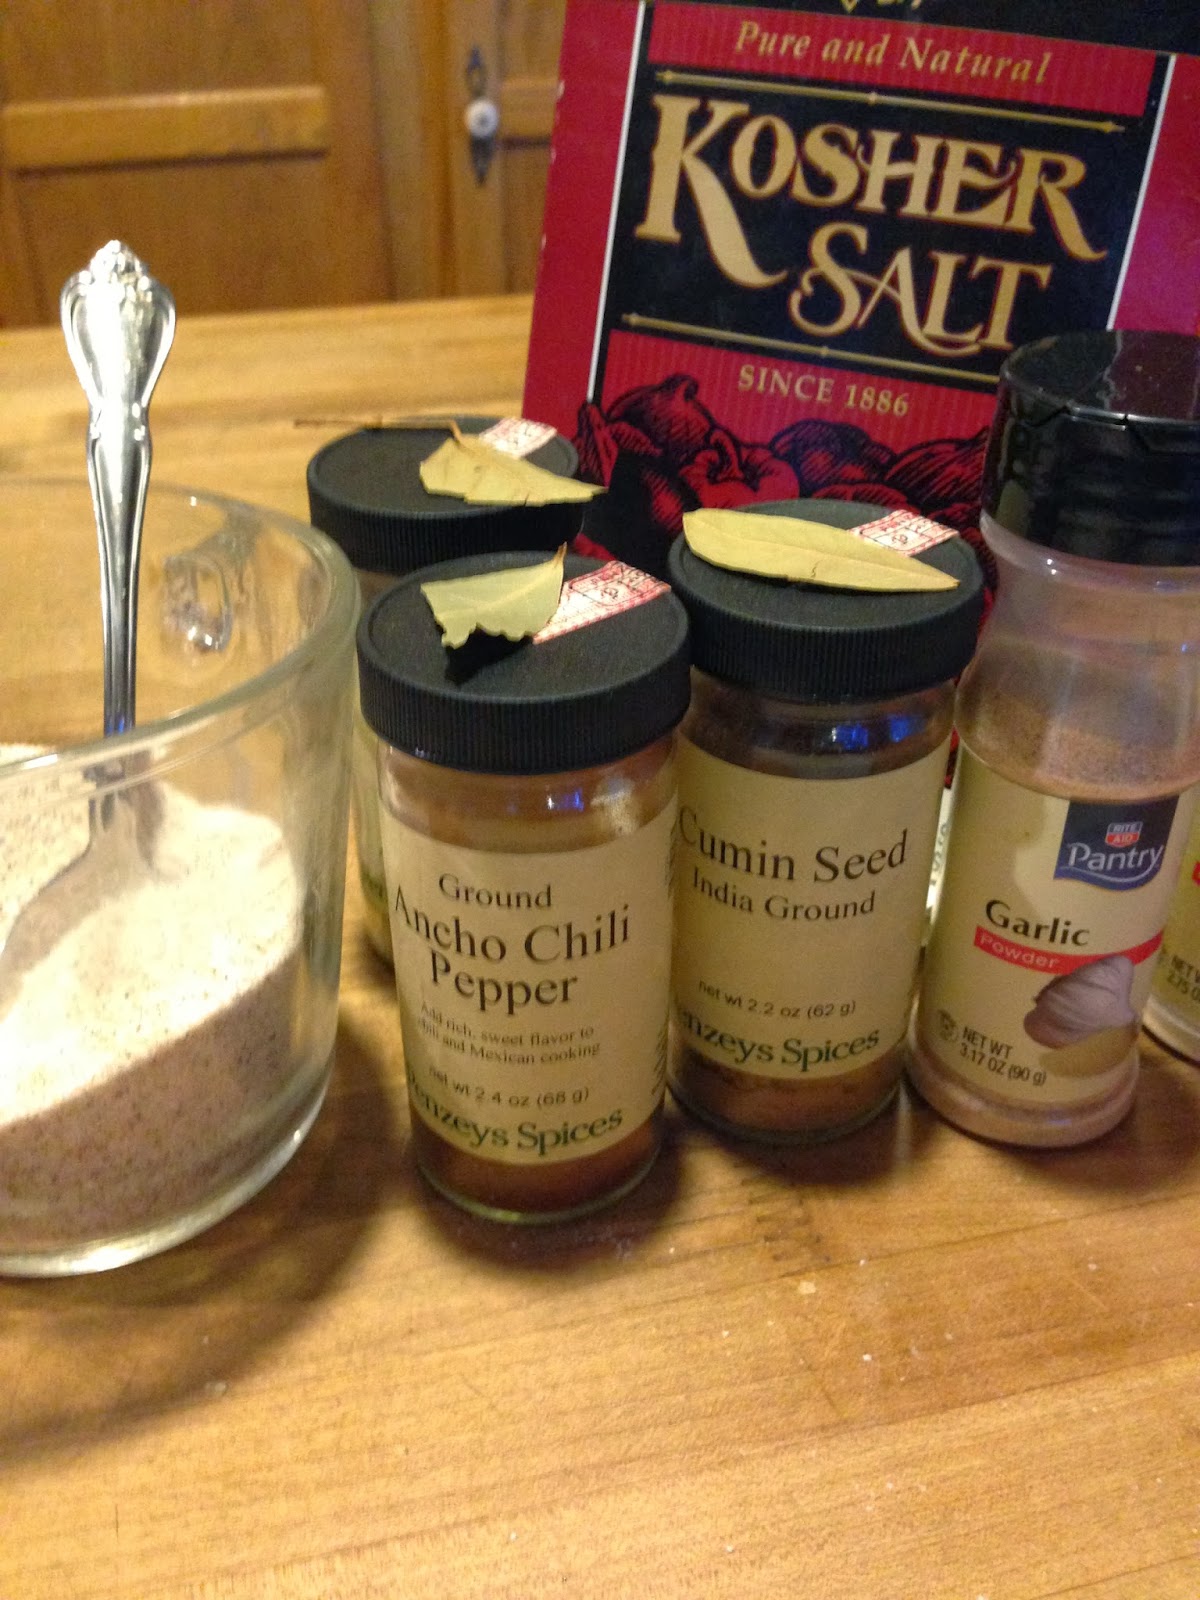
On the last slab, which was the thickest end, we went a little wild and tried something we hadn’t before. My family LOVES Mexican food, so we went with a Mexican-inspired rub. Into the salt we added cumin, adobo seasoning, onion powder, garlic powder (home made from smoked garlic), crushed bay leaves and ancho chiles. It smelled FABULOUS. I have no idea how it will taste. My kids eat a LOT of breakfast burritos, though, which are already Mexican-y in flavor, so, if nothing else, it should work there.
I’ll smoke the maple and black pepper cures, but I will oven roast the other. I don’t want a heavy smoke taste to overwhelm the other flavors.
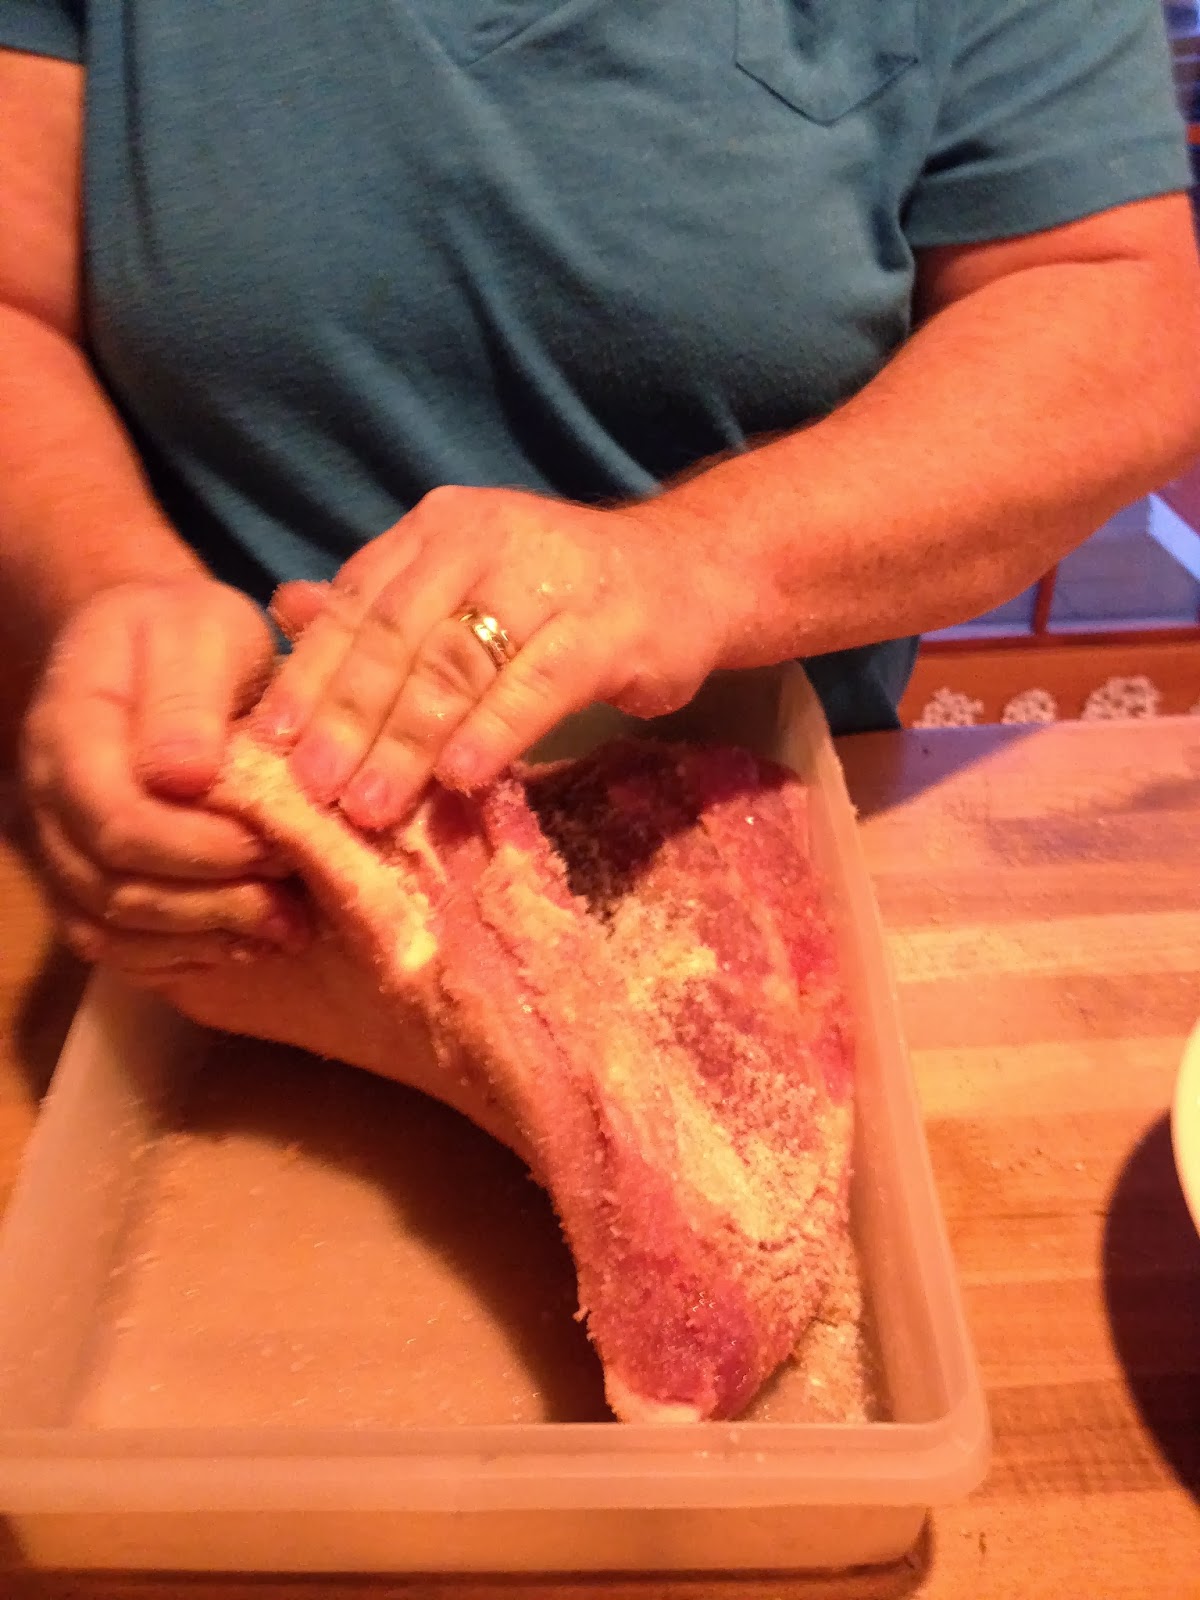 Rub cure in every crevice |
 Brown Sugar/Maple Rub |
 Going Mexican |
SECOND UPDATE:
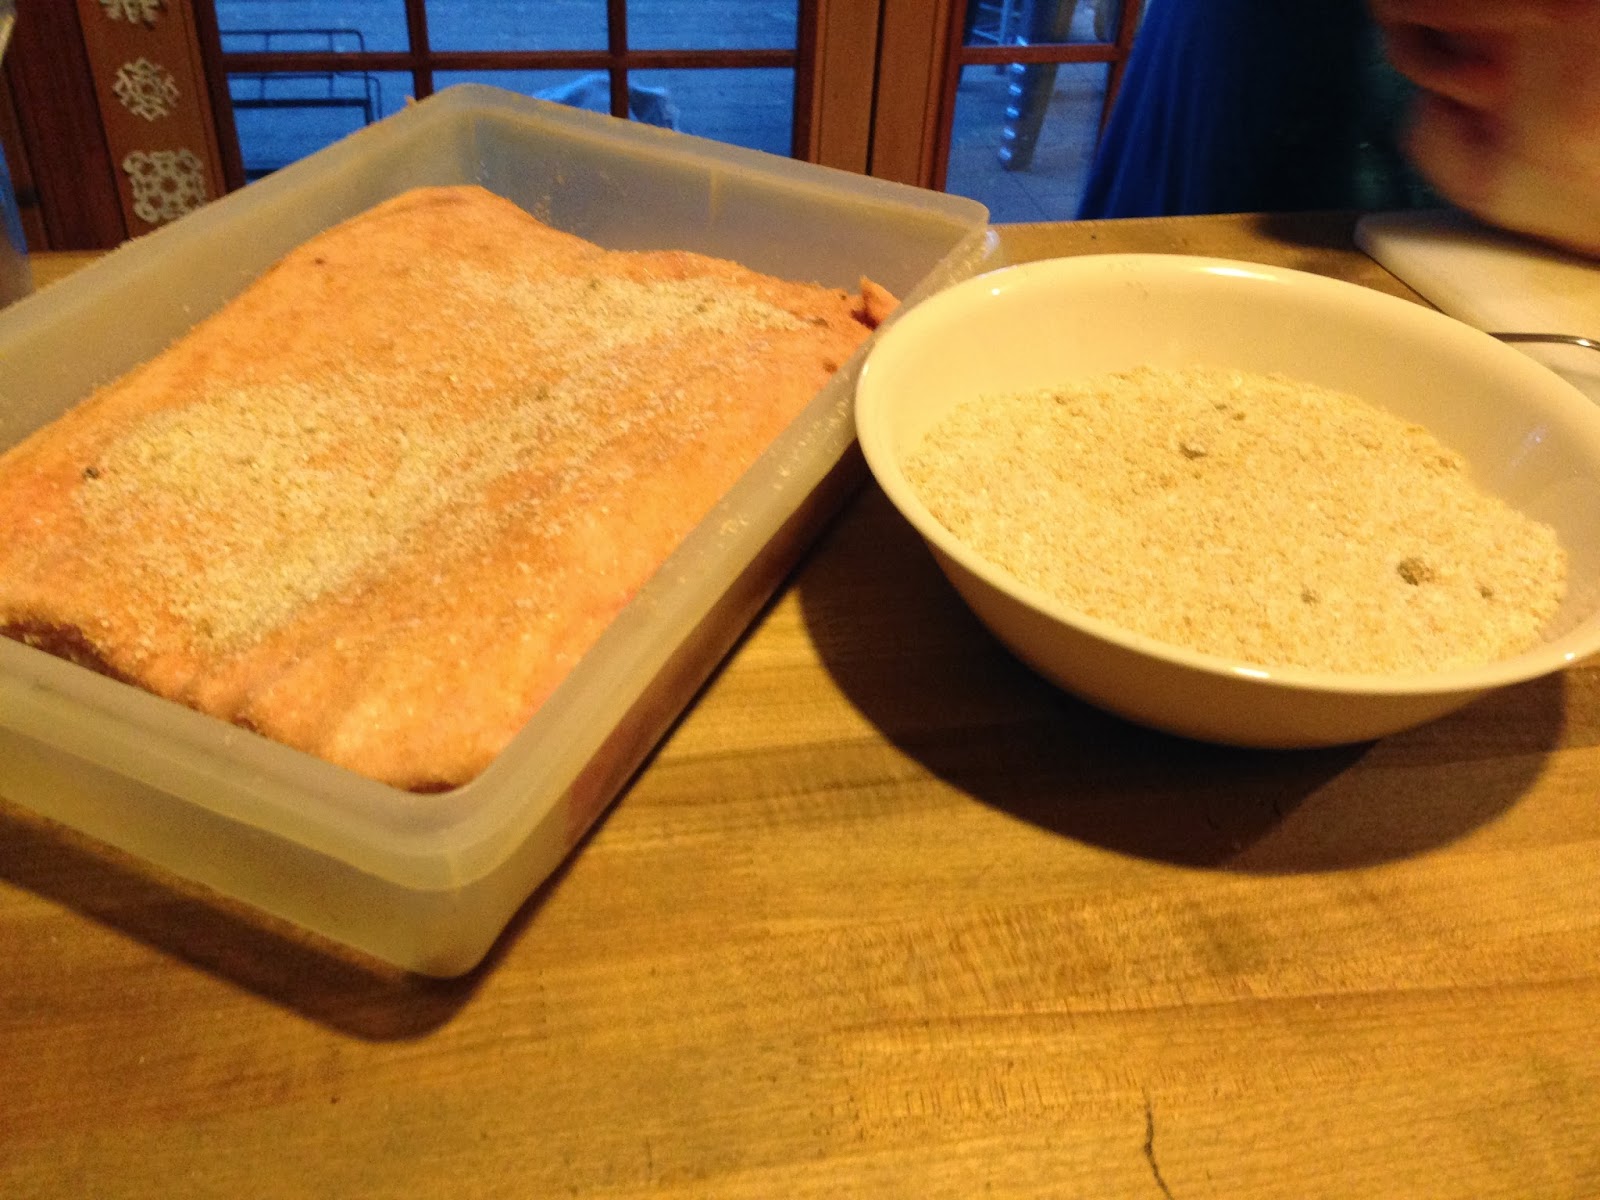
After letting the pork bellies do their thing in the fridge overnight, it was time to take a few minutes to address them again. The salt in the cure draws out the liquid in the meat, so all three containers had the pork sitting in a pool of juice. So, today’s task was to drain away that liquid, apply a little more cure (about an eighth of a cup for the smaller pieces and a quarter cup for the larger), and put it back in the fridge. I massaged the cure into the meat again, leaving a little to just sprinkle on top. When I opened the Mexican spiced container, it smelled WONDERFUL. I can’t wait to see what that is going to taste like!
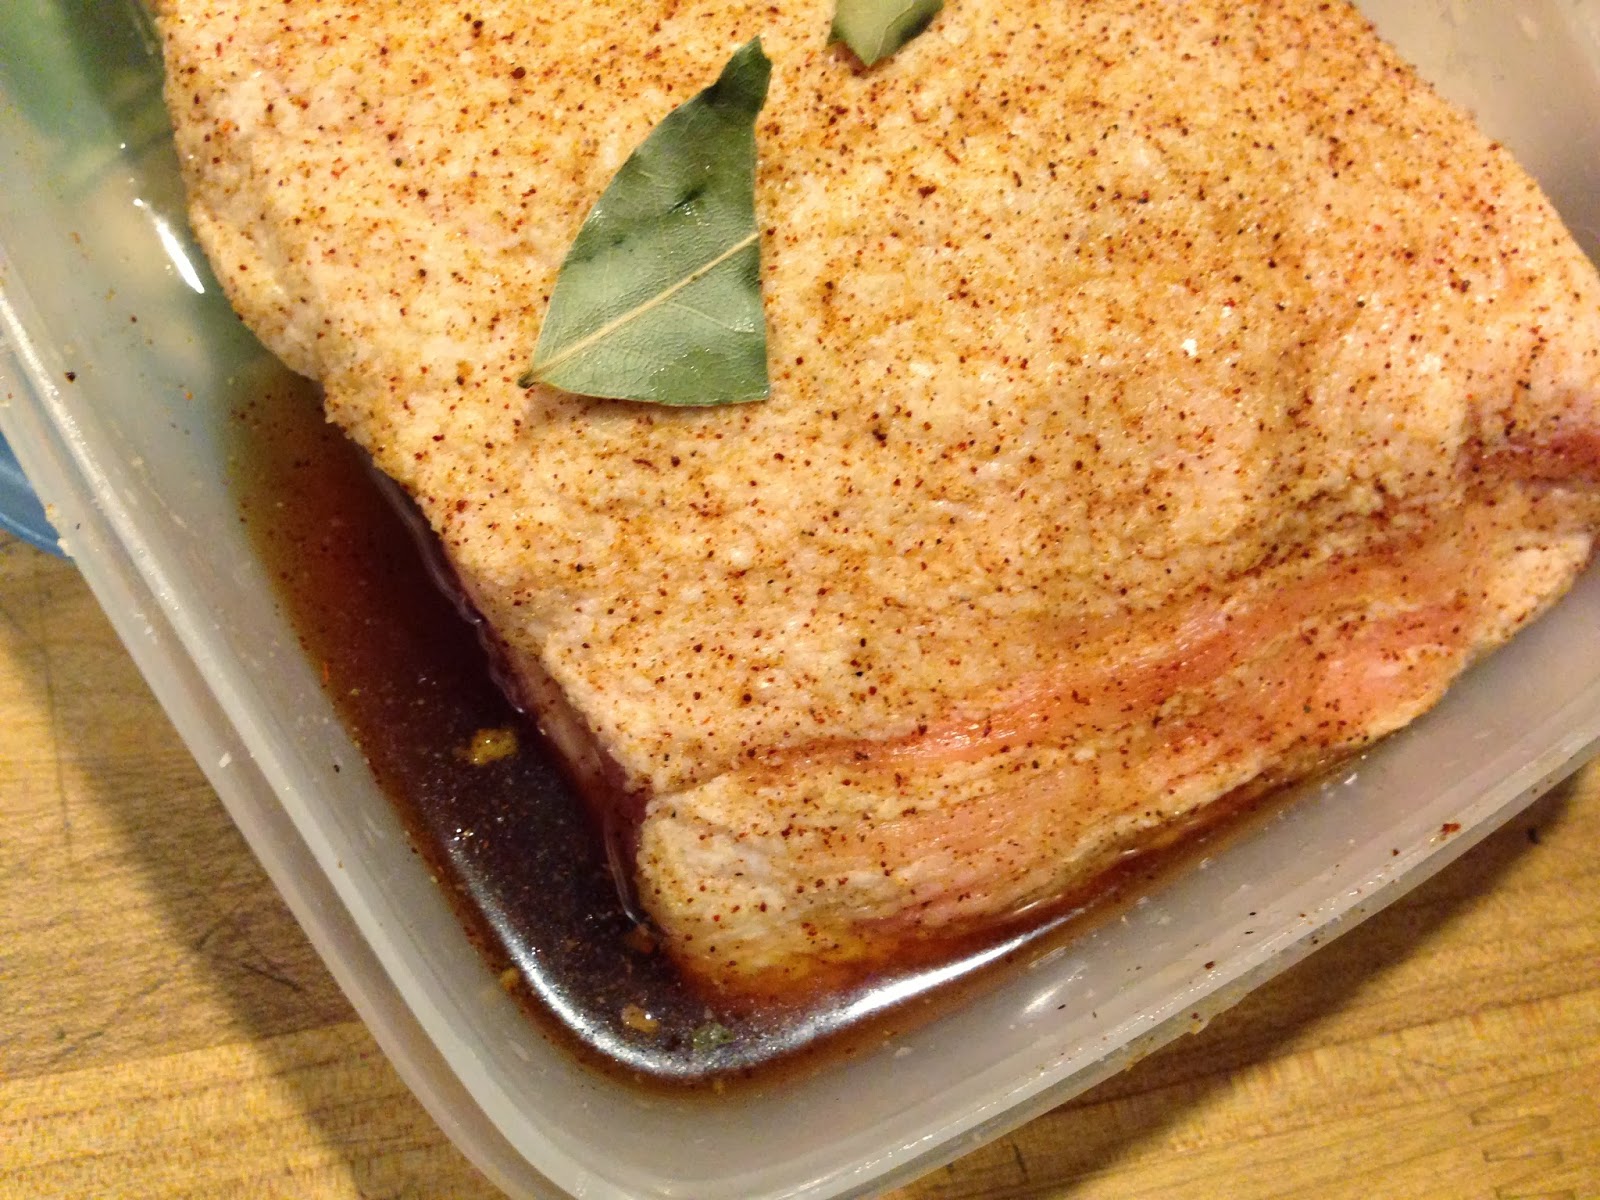 Mexican Spiced with liquid |
 Brown Sugar/Maple |
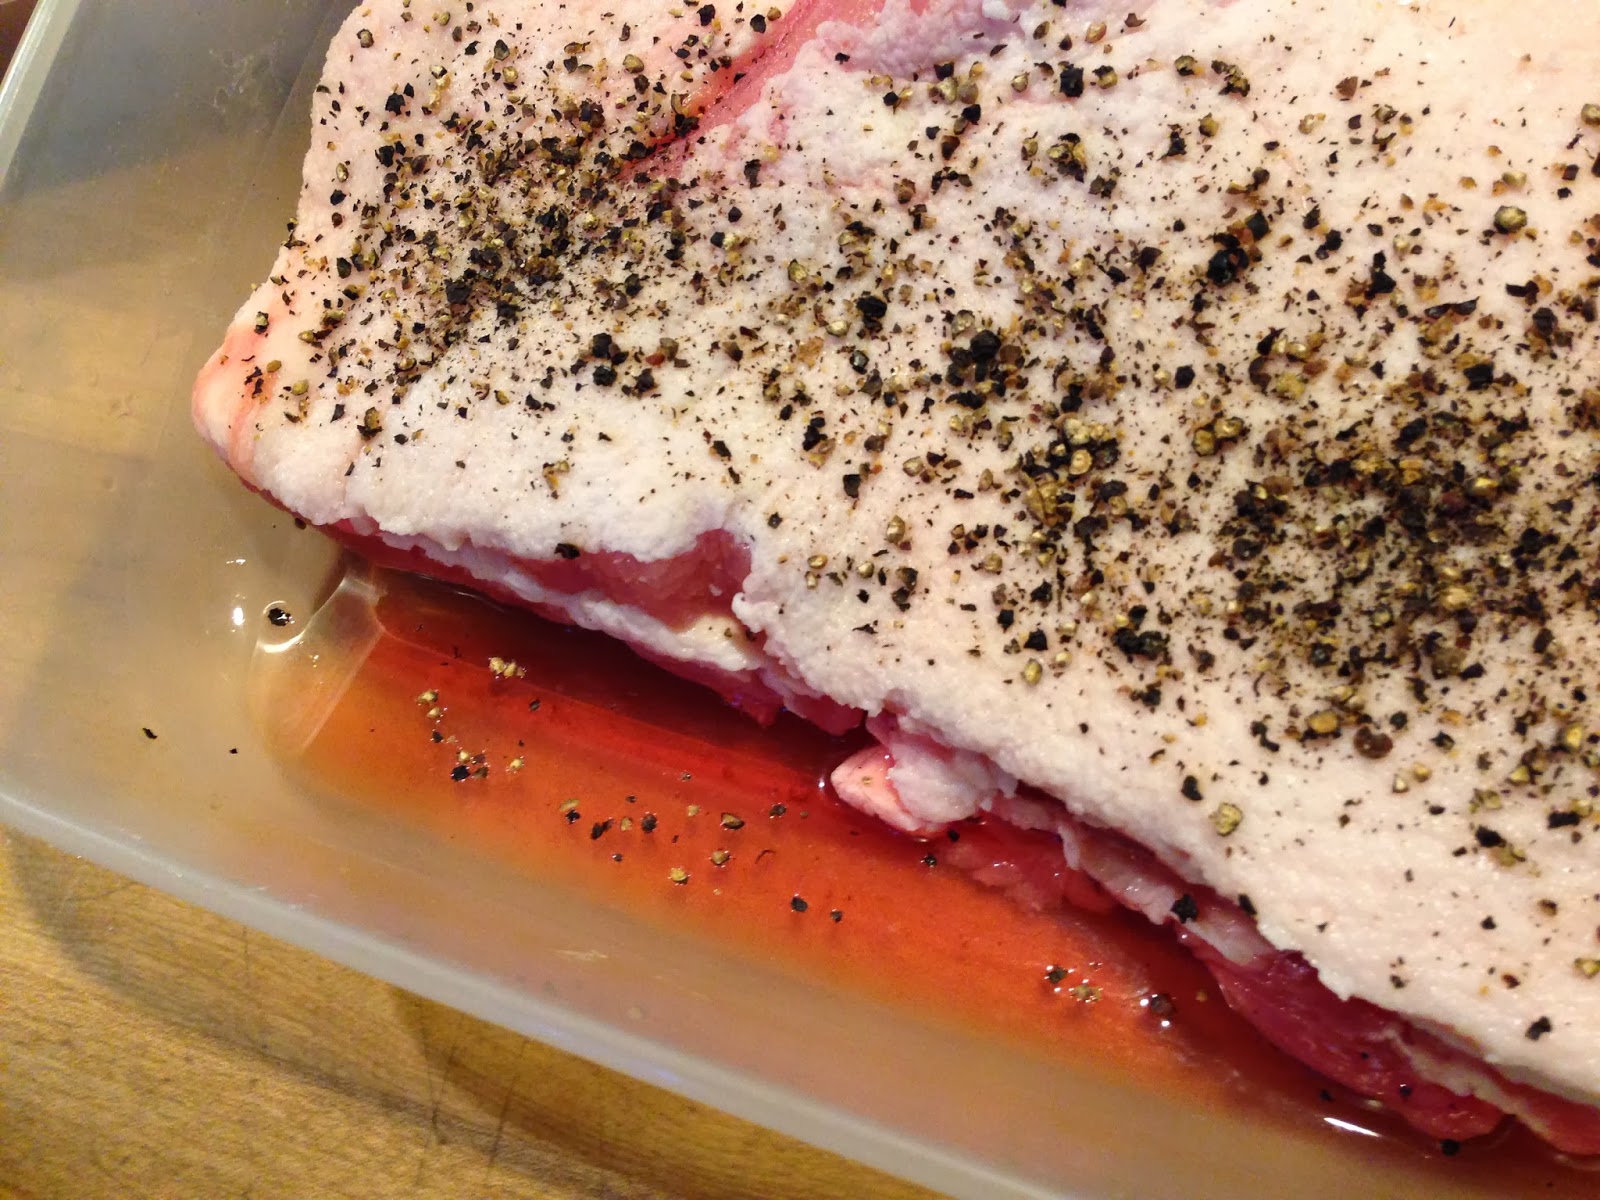 Cracked Black Pepper with liquid |
THIRD UPDATE:
Things are going along swimmingly! Followed the same routine as yesterday, except I used a lot less salt. . .just a sprinkle today. The meat is firming up nicely, which is what you want as the liquid is leeched out. Today I not only applied another layer/rub, but I turned the pork over so the fat layer is down. Tomorrow, which will probably be the last day before we smoke/oven roast it, I’ll turn it back to the meat side down for the final rub.
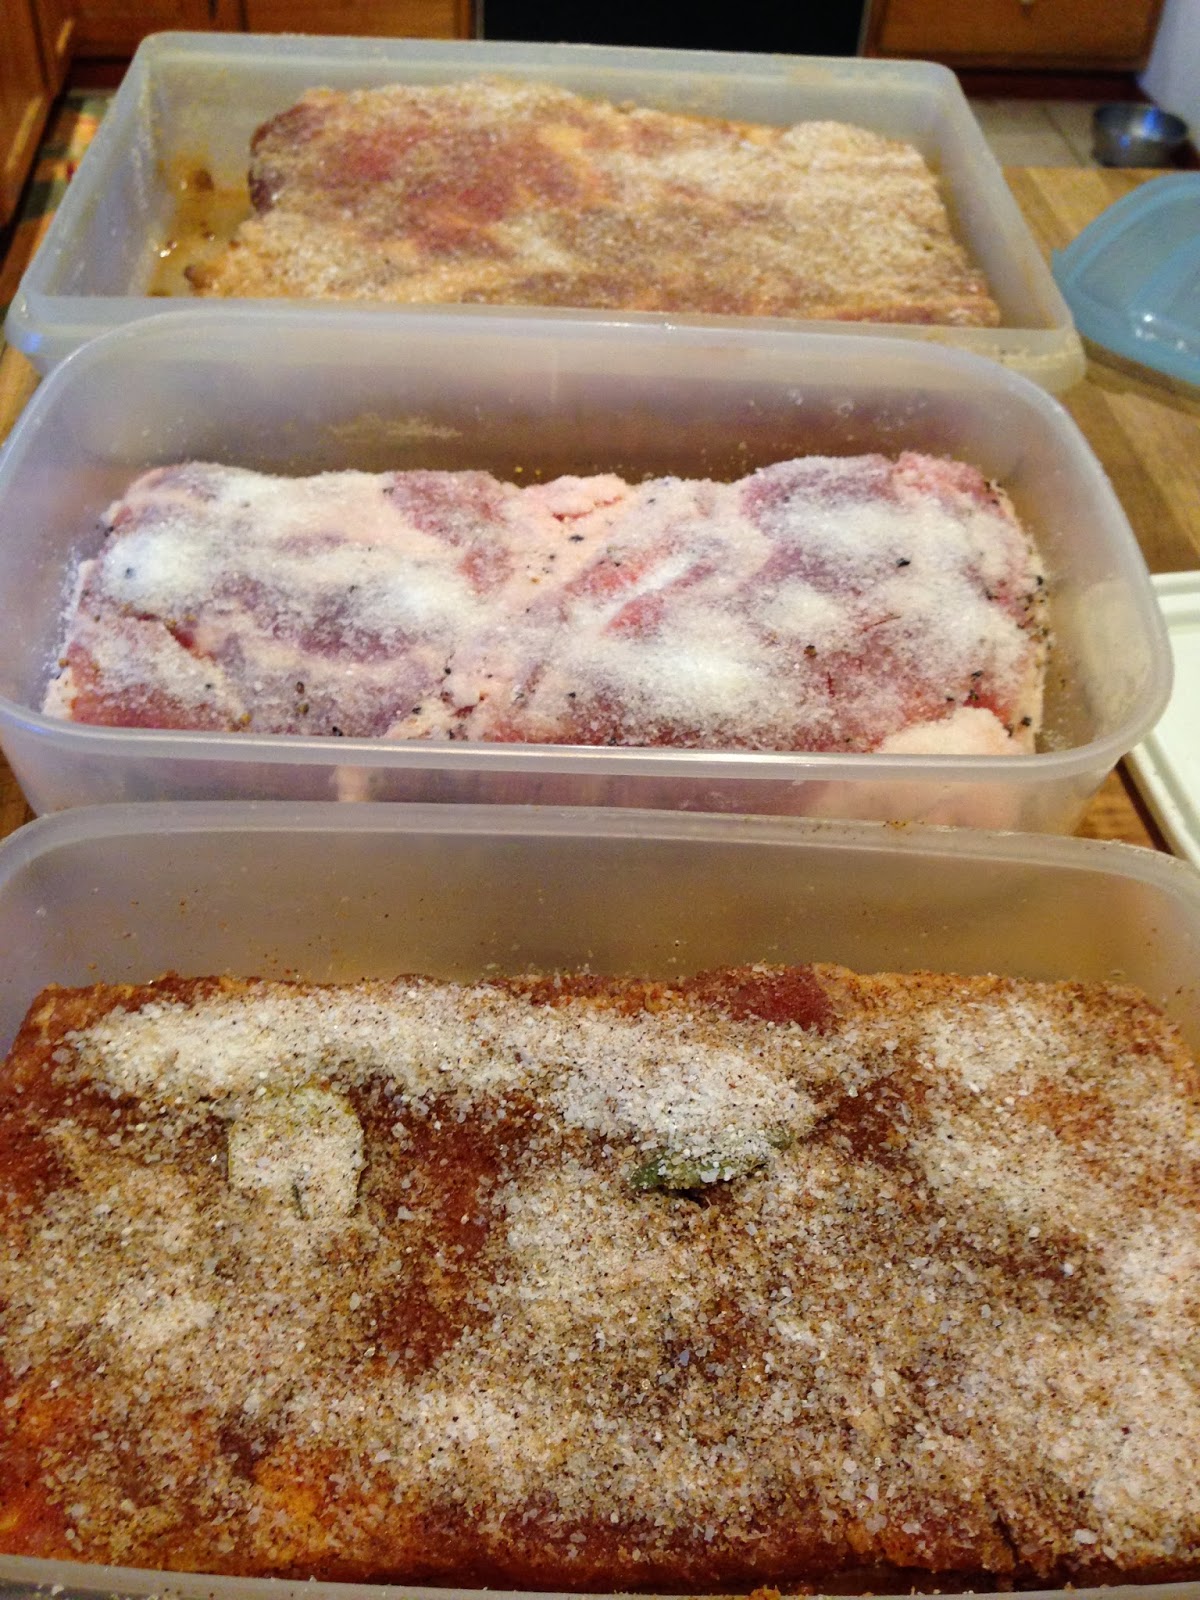
Brown Sugar/Maple at the back, Black Pepper in the middle, and Mexican in the foreground.
FOURTH UPDATE:
 Well, we had our gorgeous Mexican-y bacon this morning. I should have rinsed it a little more, but I was afraid of washing away all the yummy spices . . . so it was a little saltier than usual. But BOY did it taste fantastic in breakfast burritos! I think we may have a new tradition on our hands!
FINALE:
To be honest, the results were too wonderful to relegate to a mere final footnote in this post. . . check out the full pictures and blog about the end of this process here: Bacon Finale
I think I am in love!


Be the first to comment on "Home Cure Your Own (Delicious!!) Bacon"