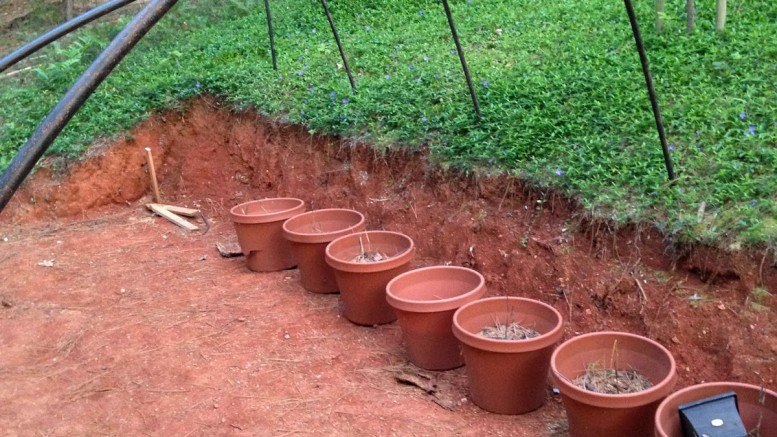
We’re getting pretty excited to be finishing our makeshift poly-tunnel garden area. Theoretically, we are heading out of freezing, wintry conditions and into 70 degree days and over 40 at night in the next few weeks. This means we should be planting out here pretty soon, as soon as we finish hardening off our cut little seedlings. Oooh, I am getting so excited.
Today’s thrill was building our makeshift raised bed out of stuff we had lying around. Whoo-hoo for the Practical Pioneer!
We began by deciding how wide we wanted our raised bed to be and then turned over between 6-8 inches of that frustratingly solid red clay soil (the hardest part of the whole process!!). Into that we worked many bags of manure, hydrated lime and charcoal from our burn pits. Theoretically, we’re told, that’s all we needed to do to amend our soil.
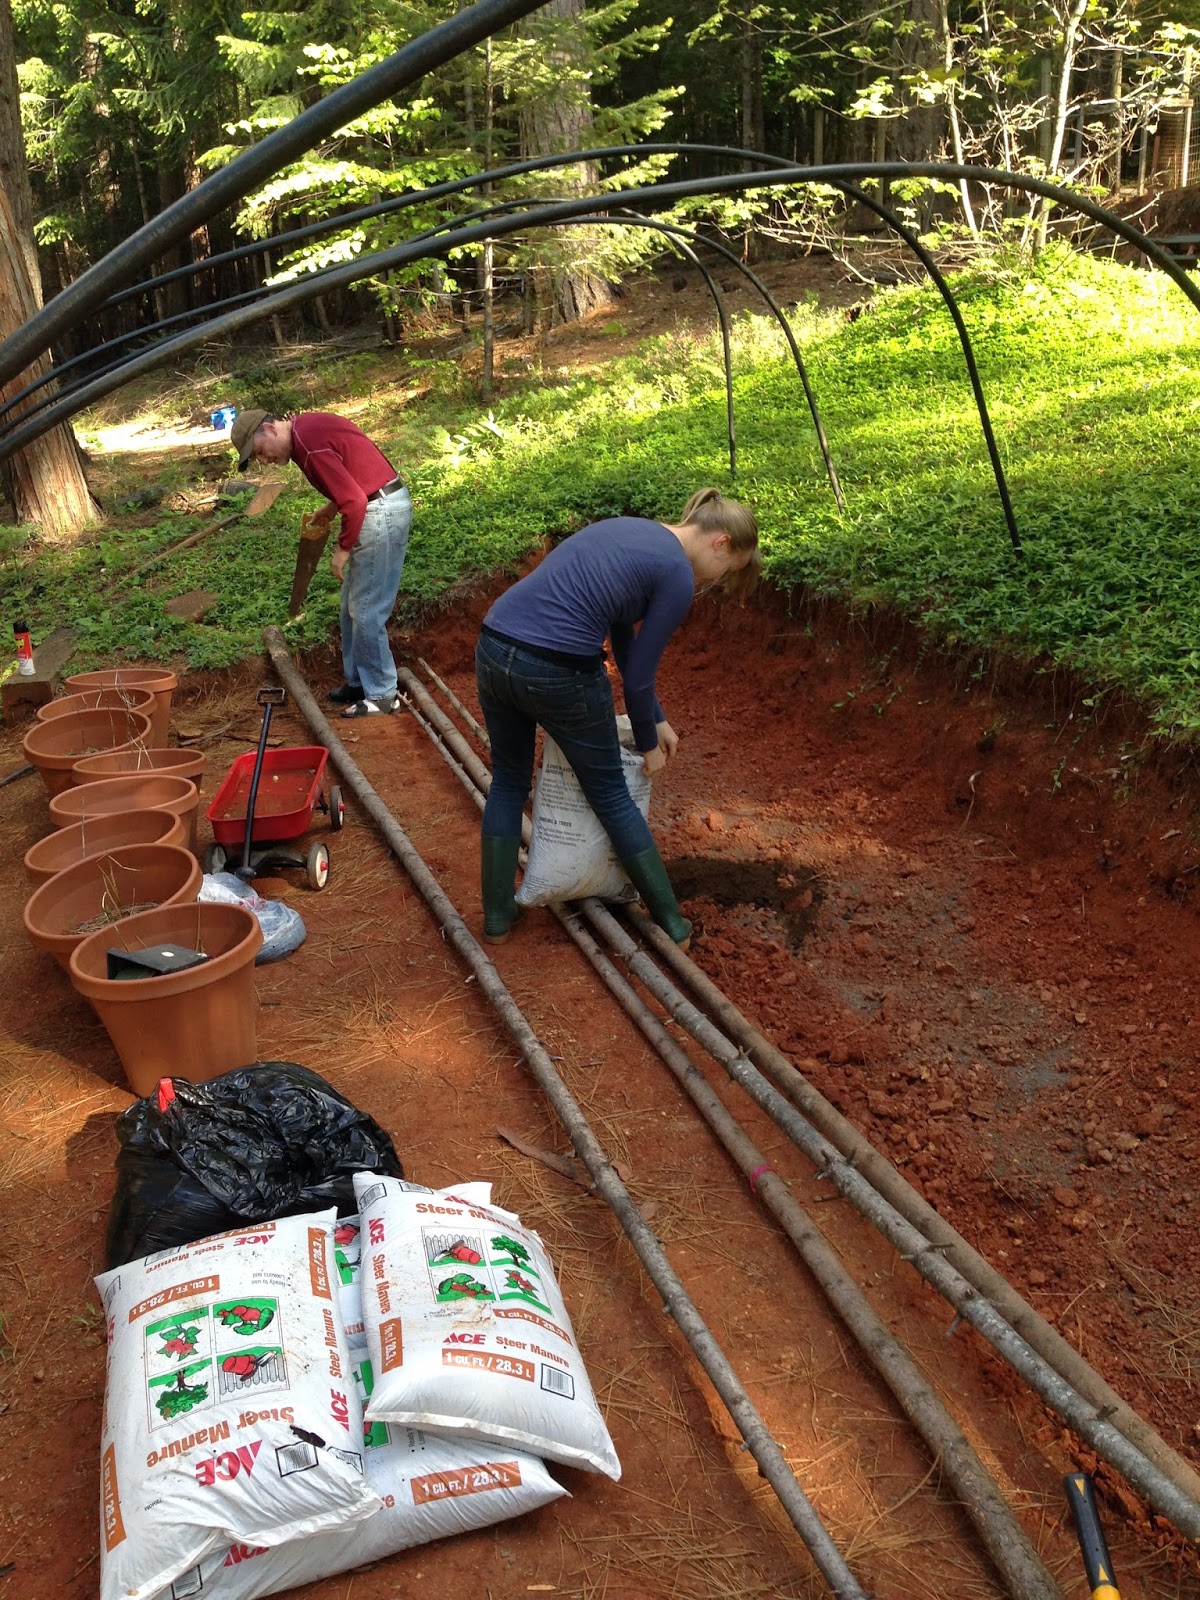
Amending the soil and cutting log lengths
Once that was done, we built the small wall that will edge the raised bed and hold in our growing medium. We had discussed all sorts of possibilities, but finally decided that we’d just use some old rebar and a few of the many felled sapling trees we already have in a huge pile waiting to be sawed to lengths for the woodstove.

Rebar and the Lime
It was pretty easy to do. . .we just used eight two foot lengths of rebar and drove four of those bars a foot into the ground in a straight line the length of the bed, evenly spaced along the whole length. We then laid the thickest of our trees down on the ground against the rebar and hammered in another length on the opposite side of the log from the first piece of rebar, pinning the log into place. We continued pinning the log into place with the other three pieces of rebar.
We then just slotted more trees into the space between each pair of rebar lengths, making sure to put the base of one tree against the tip of another, just like they do in log houses to keep our wall as even as possible. To be honest, we thought it would take more trees to build up to our desired height of 10-12 inches, but it took only four!
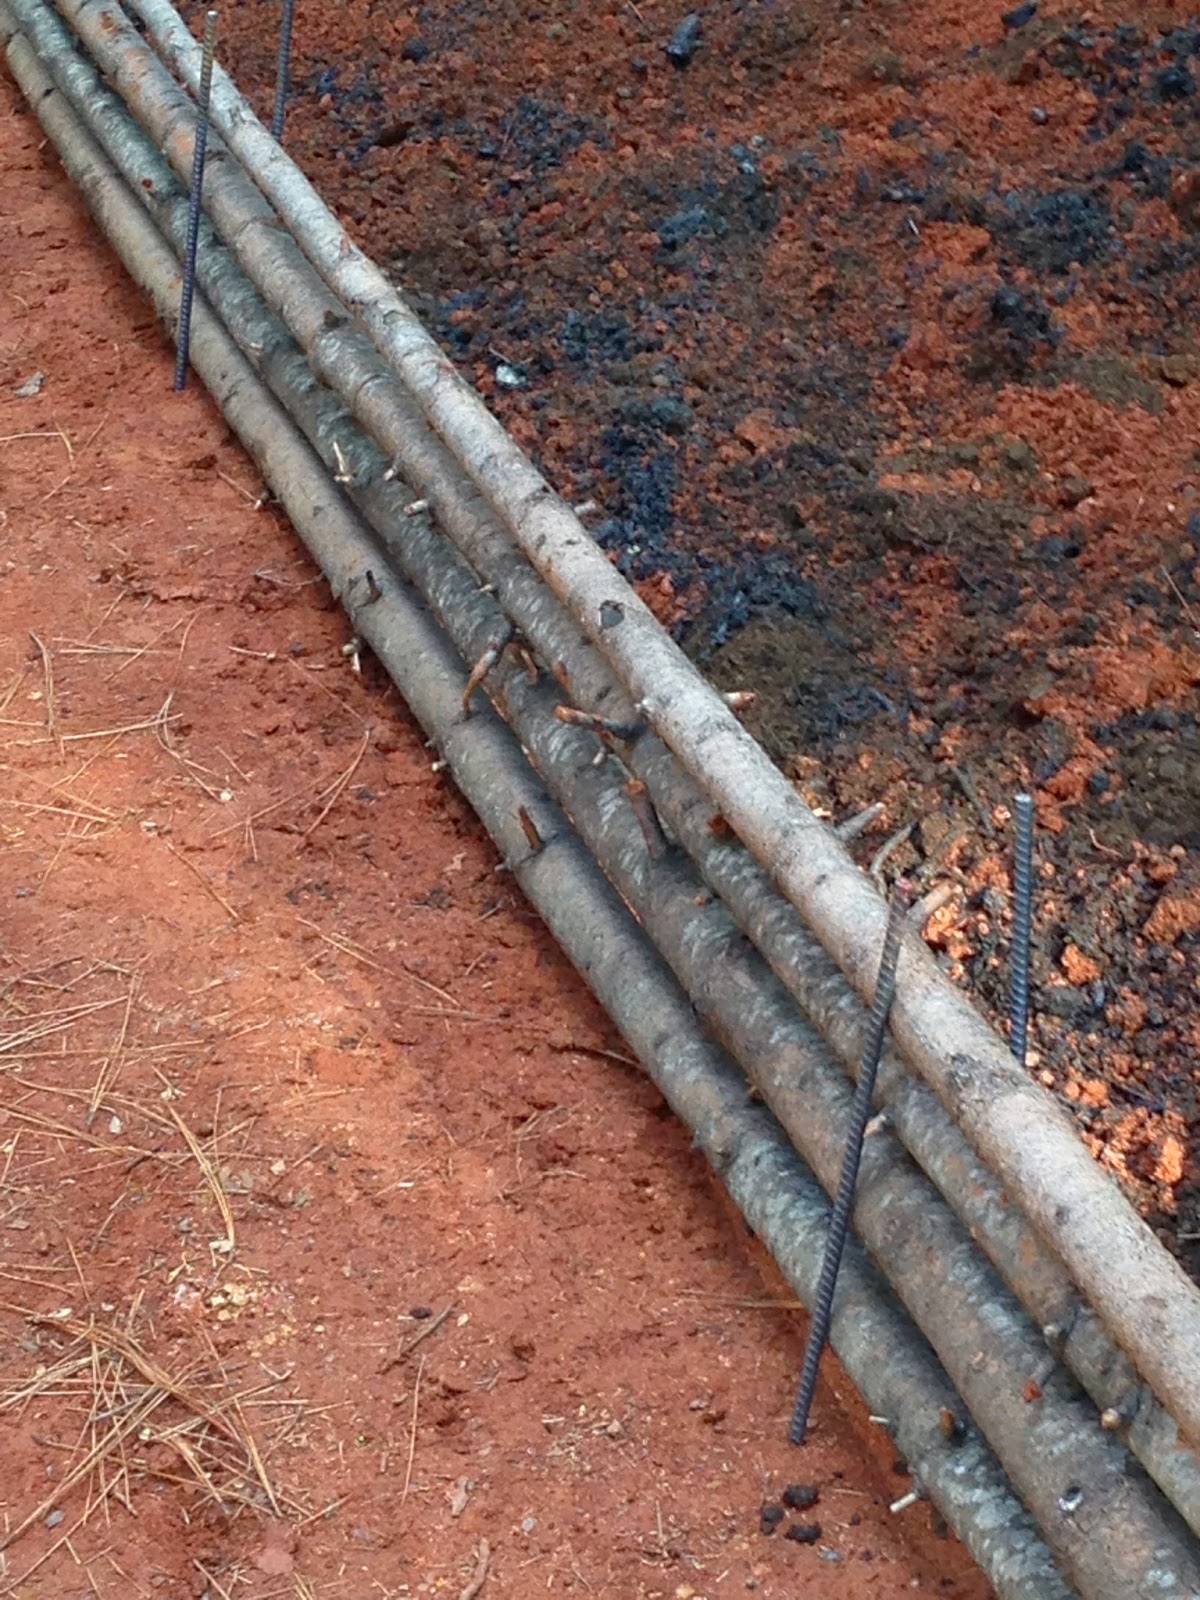
Made a neat little wall
Because there was still a little space between the logs, which never are perfectly straight, we opted to put some strips of cardboard against the inside edge of the logs just to keep the dirt in. Since we aren’t expecting this to be a permanent solution, we thought that cardboard would be fine for one season.
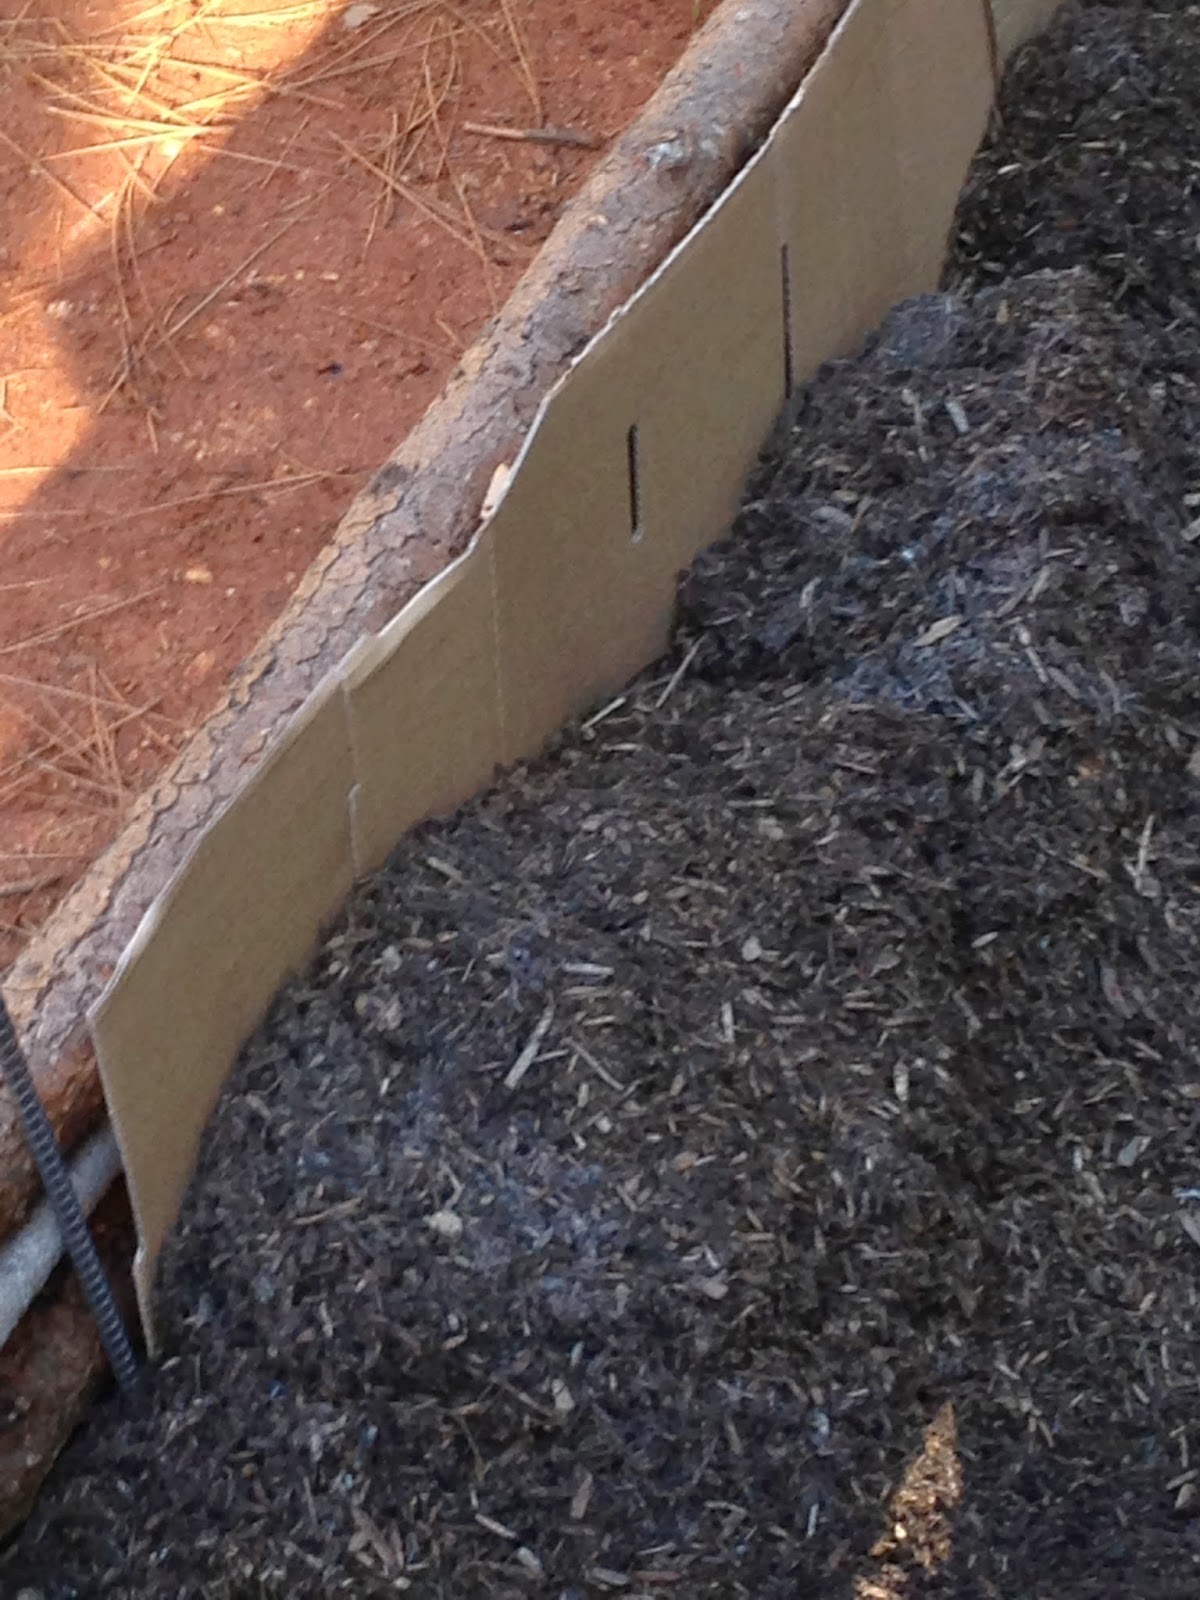
A little cardboard helps keep the dirt in
Then, we just backf-illed with gardening mix, two bags of Miracle Grow, and some old bags of potting soil we had lying around. That, with the eight inches of amended soil made a solid foot and a half of good, rich soil in the bed.
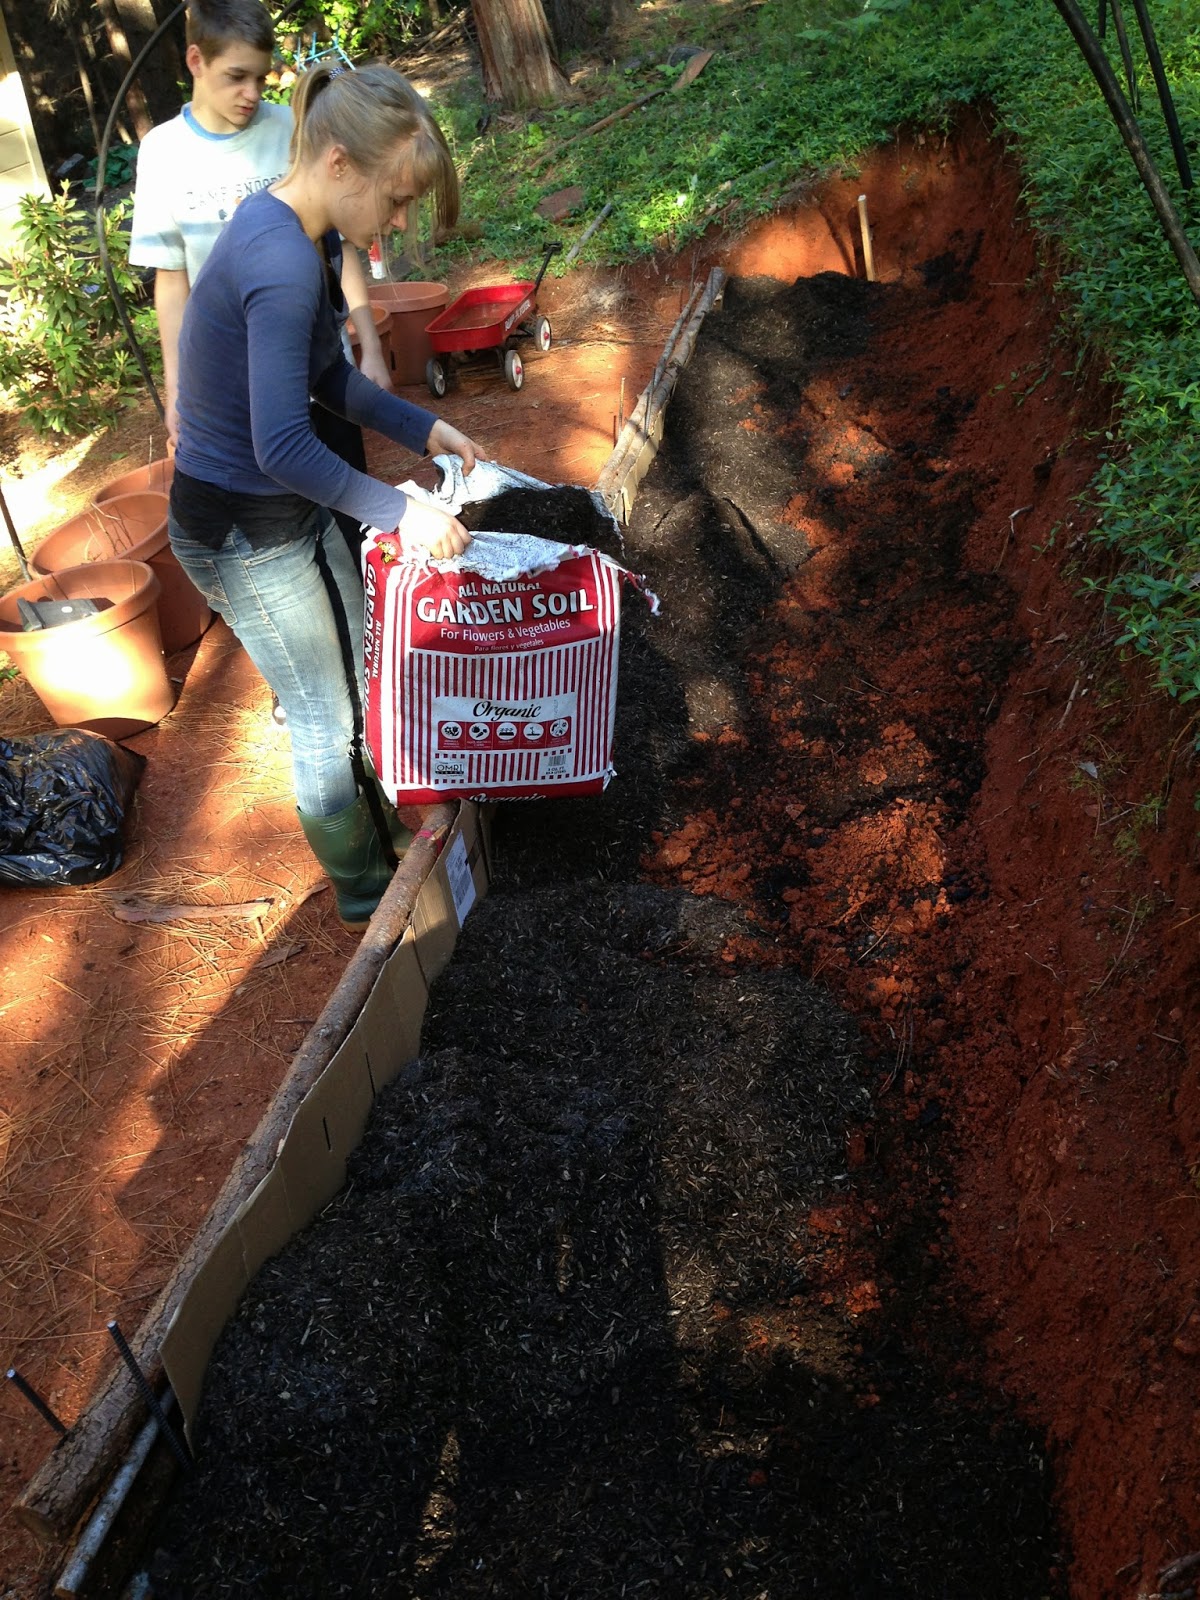
Tackling projects like this is a family affair!
Tomorrow we’re going to make home made bean poles and sort out some tubs.
I can’t wait!!!


Be the first to comment on "A Quick Raised Bed for the Vegetable Garden!"