Didja ever wonder how the heck anyone on the prairie had ever HEARD of ice cream, let alone tasted it? I mean, it’s not like people in the middle of nowhere could pop into Baskin Robbins for a sweet treat on a Saturday night!
Given their rather frugal, minimal, narrow diets, you would have thought ice cream was a bit of an unrealistic luxury if it was even known about. But, apparently, it wasn’t as rare as I would’ve expected. With snow, an ice house or a summer hailstorm to hand, as well as the family cow, salt and a little sweetener, this decadent treat was only a little effort away!
Here’s a simple, basic recipe:
- 1 qt. ice cold full cream (the colder, the better, as it will speed the process!)
- 1 cup sugar (or 1/3 cup honey/molasses or other sweetener)
- Ice, crushed
- Rock salt (also called ice cream salt)
- Two large bowls of different sizes-one big enough to hold 1/2 gallon of liquid and the other one larger than the first bowl (Metal mixing bowls work best for this, and speeds the process, though I know that isn’t exactly authentic. Crockery or glass bowls work next best. Plastic is in third. Wooden bowls don’t conduct the cold well enough to work in this recipe)
- Sturdy wire whisk (or a wooden spoon if you are still upset about the authenticity of the metal bowls!)
Process:
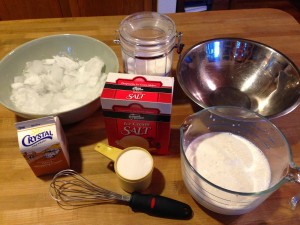
Gather your ingredients and kitchen paraphernalia.
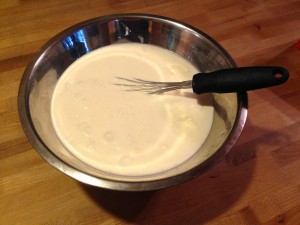
Mix the cream and sugar together in the smaller of the two bowls until the sugar is completely dissolved.
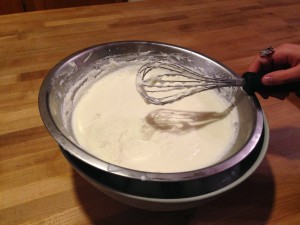
Set the small, cream filled bowl inside another, larger, bowl filled with a mix of crushed ice and salt. (Salt lowers the freezing point of the ice and keeps the ice from melting too fast, too). Carefully snuggle the smaller bowl into the ice as much as you can, pushing it down, carefully, into the ice so that as much of the bowl’s outer surface is touching ice as possible.
Let sit, undisturbed, for five minutes and then mix the colder liquid on the outside of the bowl into the middle bit. Repeat every five or ten minutes until you start to feel bits of cream freezing on the inside of the bowl.
The whole process could take over an hour, depending on how cold your cream was to start with, what bowls you’re using and what the air temperature is. Even just the first stage might take up to 30 minutes before the cream is cold enough to start freezing around the edges. You might think that nothing is happening, but if your cream filled bowl has contact with ice in the second bowl, don’t give up!
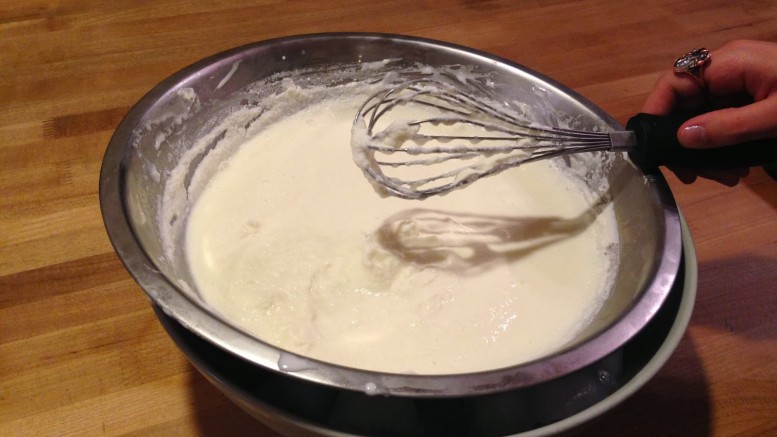
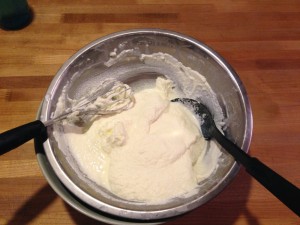
As soon as you begin to feel the cream freezing, make sure to keep scraping up and mixing in the frozen bits every minute or two . . . you’re the churner! A metal whisk works great for this, but a good spatula will do, too!
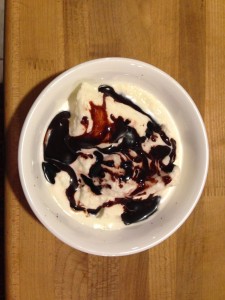
Keep scraping and churning the mixture until you are either satisfied with the consistency or darn sick of mixing and just plain ready to eat! The ice cream will never get truly ‘hard.’ Or at least, I don’t think it ever will. . .I can’t honestly say we’ve ever been patient enough to find out. It’s definitely fantastic as a soft serve option, though!
Note: To keep it from melting too fast after serving, freeze your ice cream bowls and opt for chilled toppings rather than hot fudge. Or, if you can wait, pop it in the freezer for ten to fifteen minutes to finish freezing, then stir just before serving. Don’t put it in for too long, though, as it will become rock hard in a standard freezer. If that happens, take it out of the freezer and let stand until you are just able to give it a stir. (about 15-20 minutes)



Be the first to comment on "Making Prairie Ice Cream"