
Use any flavors you like!
Well, we can’t let all this this beautiful snow go to waste, now can we? Our whole family surely enjoyed our big old bowls of snow ice cream we made, but ice cream every day would get a little old (okay, I don’t really mean that, but it does give me a chance to make another recipe!). Plus, we have two lactose intolerant people in our family and this is a GREAT alternative to dairy based ice cream!
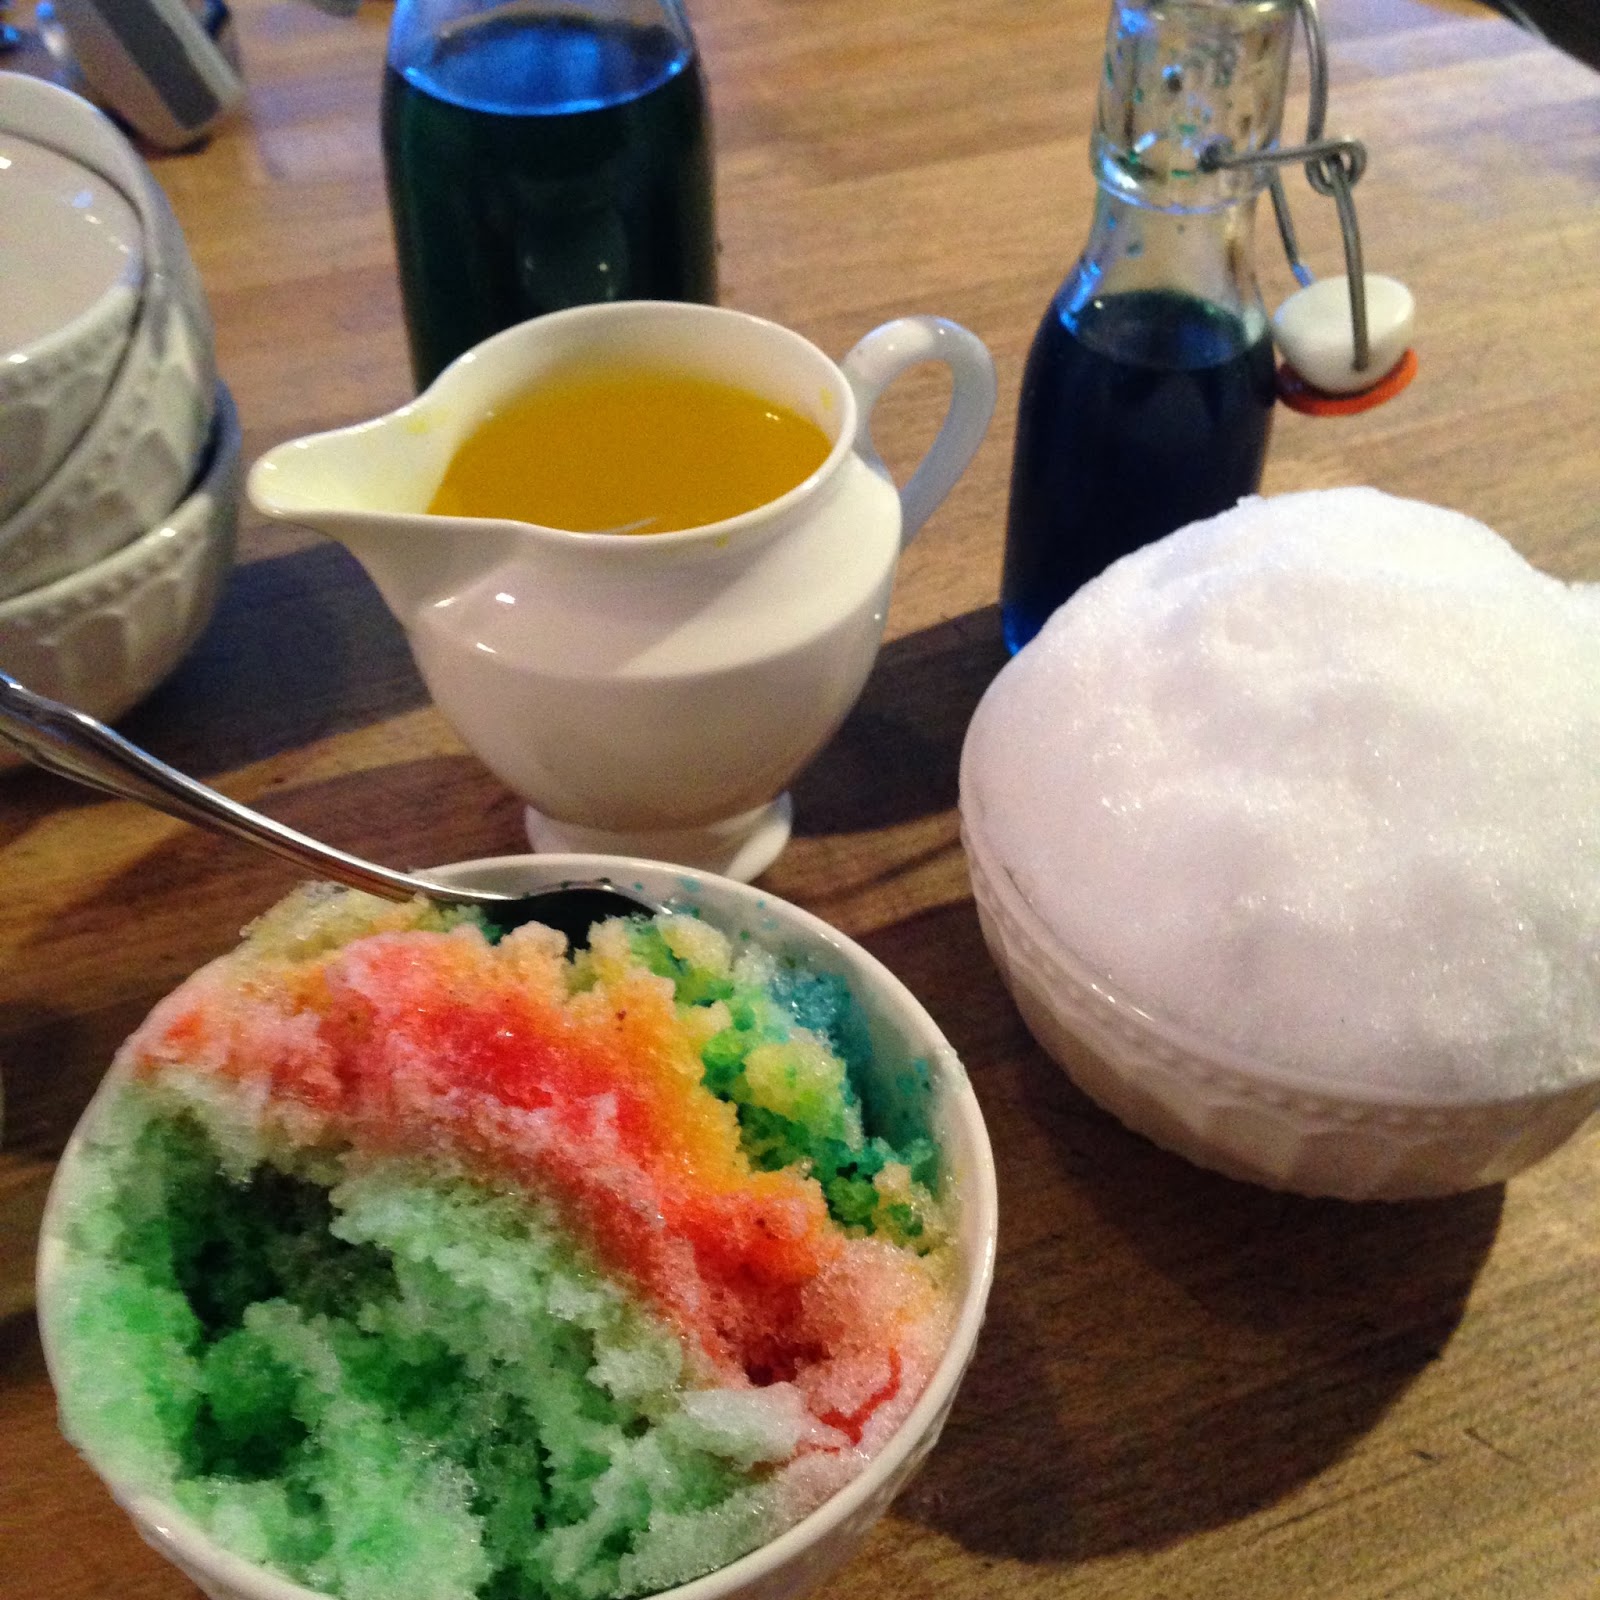
Right, are you ready to make some home made Hawaiian Ice? (If you don’t know what Hawaiian Ice is, you probably know it under other names. . .snow cones or shaved ice)
And an aside. . .if you’re snug at home and have a roaring fire going, there’s no reason why snow cones must be relegated to summer. Agreed? Agreed!
And they’re SOOOO simple to make, too. Forget buying expensive flavored syrups, too. They are very easy to make at home and by making them yourself, you know what’s in them!
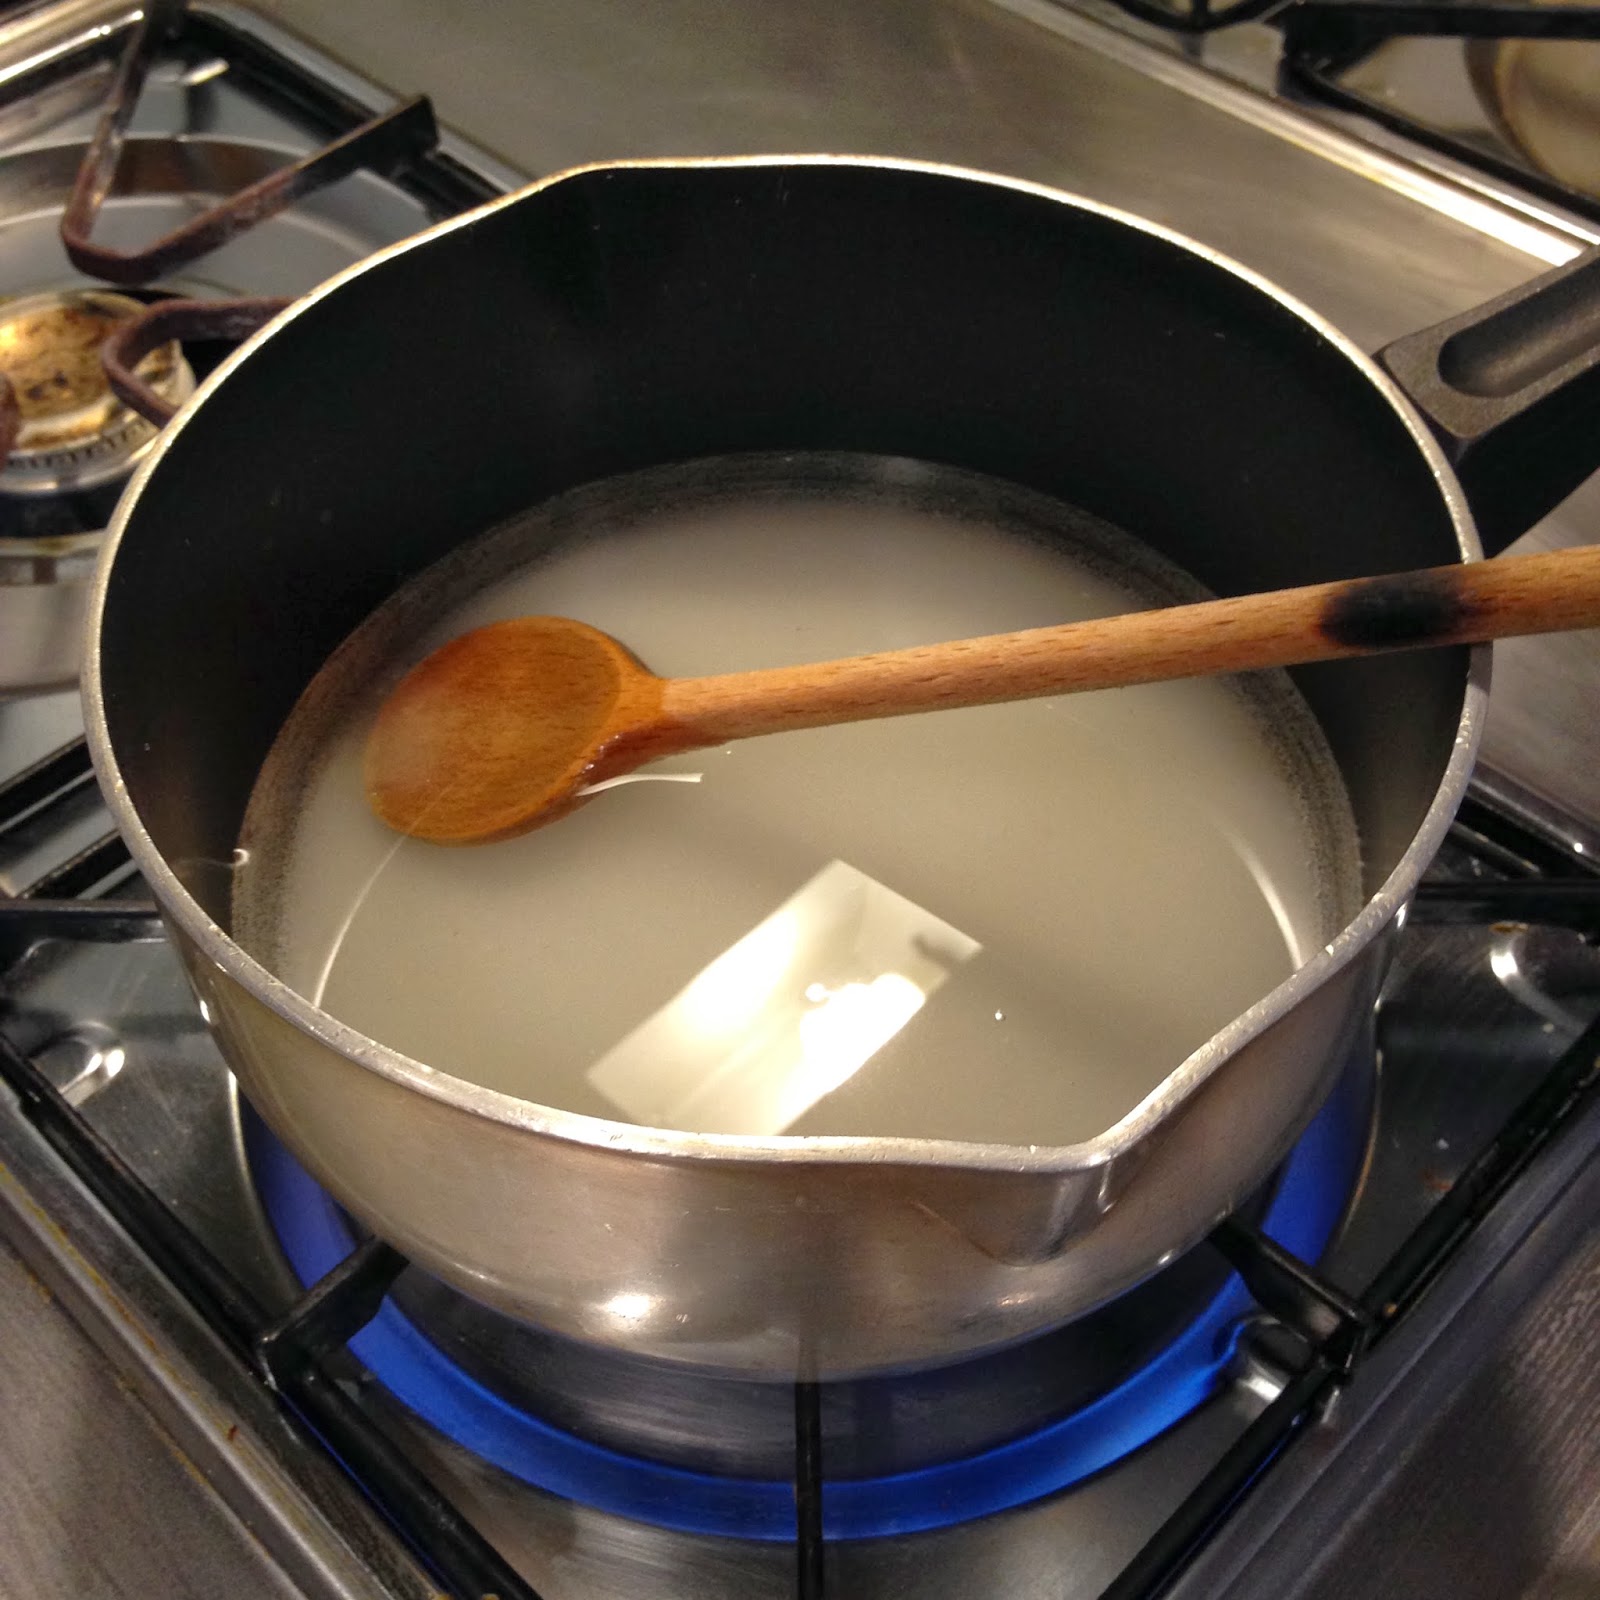
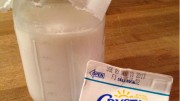
Mix equal parts sugar and water
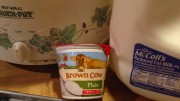
Ingredients:
- Simple Syrup: Equal parts sugar and water (about a cup of each should be good for 6 servings)
- Flavorings of your choice (vanilla, lemon, almond, etc. Fresh lemon juice, orange juice, cinnamon, and concentrated also fruit juices work well)
- Food coloring (if desired: we use them to distinguish the different flavors)
Method:
- Mix water and sugar in a heavy bottomed pan and place over medium heat.
- Bring to a boil, stirring frequently
-
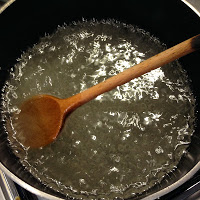
Once sugar water boils, turn off heat
As soon as syrup boils (and sugar is fully dissolved), remove from heat
- Let cool about five minutes in the pan
- Pour into heat proof containers (preferably ones that are easy to pour from)
- Add desired flavorings and colorings, if using. (We like to color each flavor, both because it is pretty on the snow and because it helps us remember which flavor is which)
- Mix well and let cool
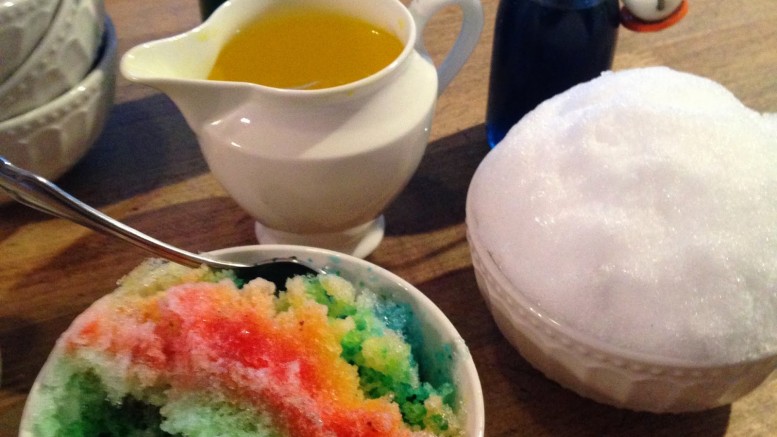
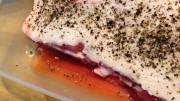
- When syrup is fully cool, scoop clean snow into bowls or cups and pack down firmly.
- Trickle the syrup of your choice over snow and serve!!
- Enjoy!!! 🙂
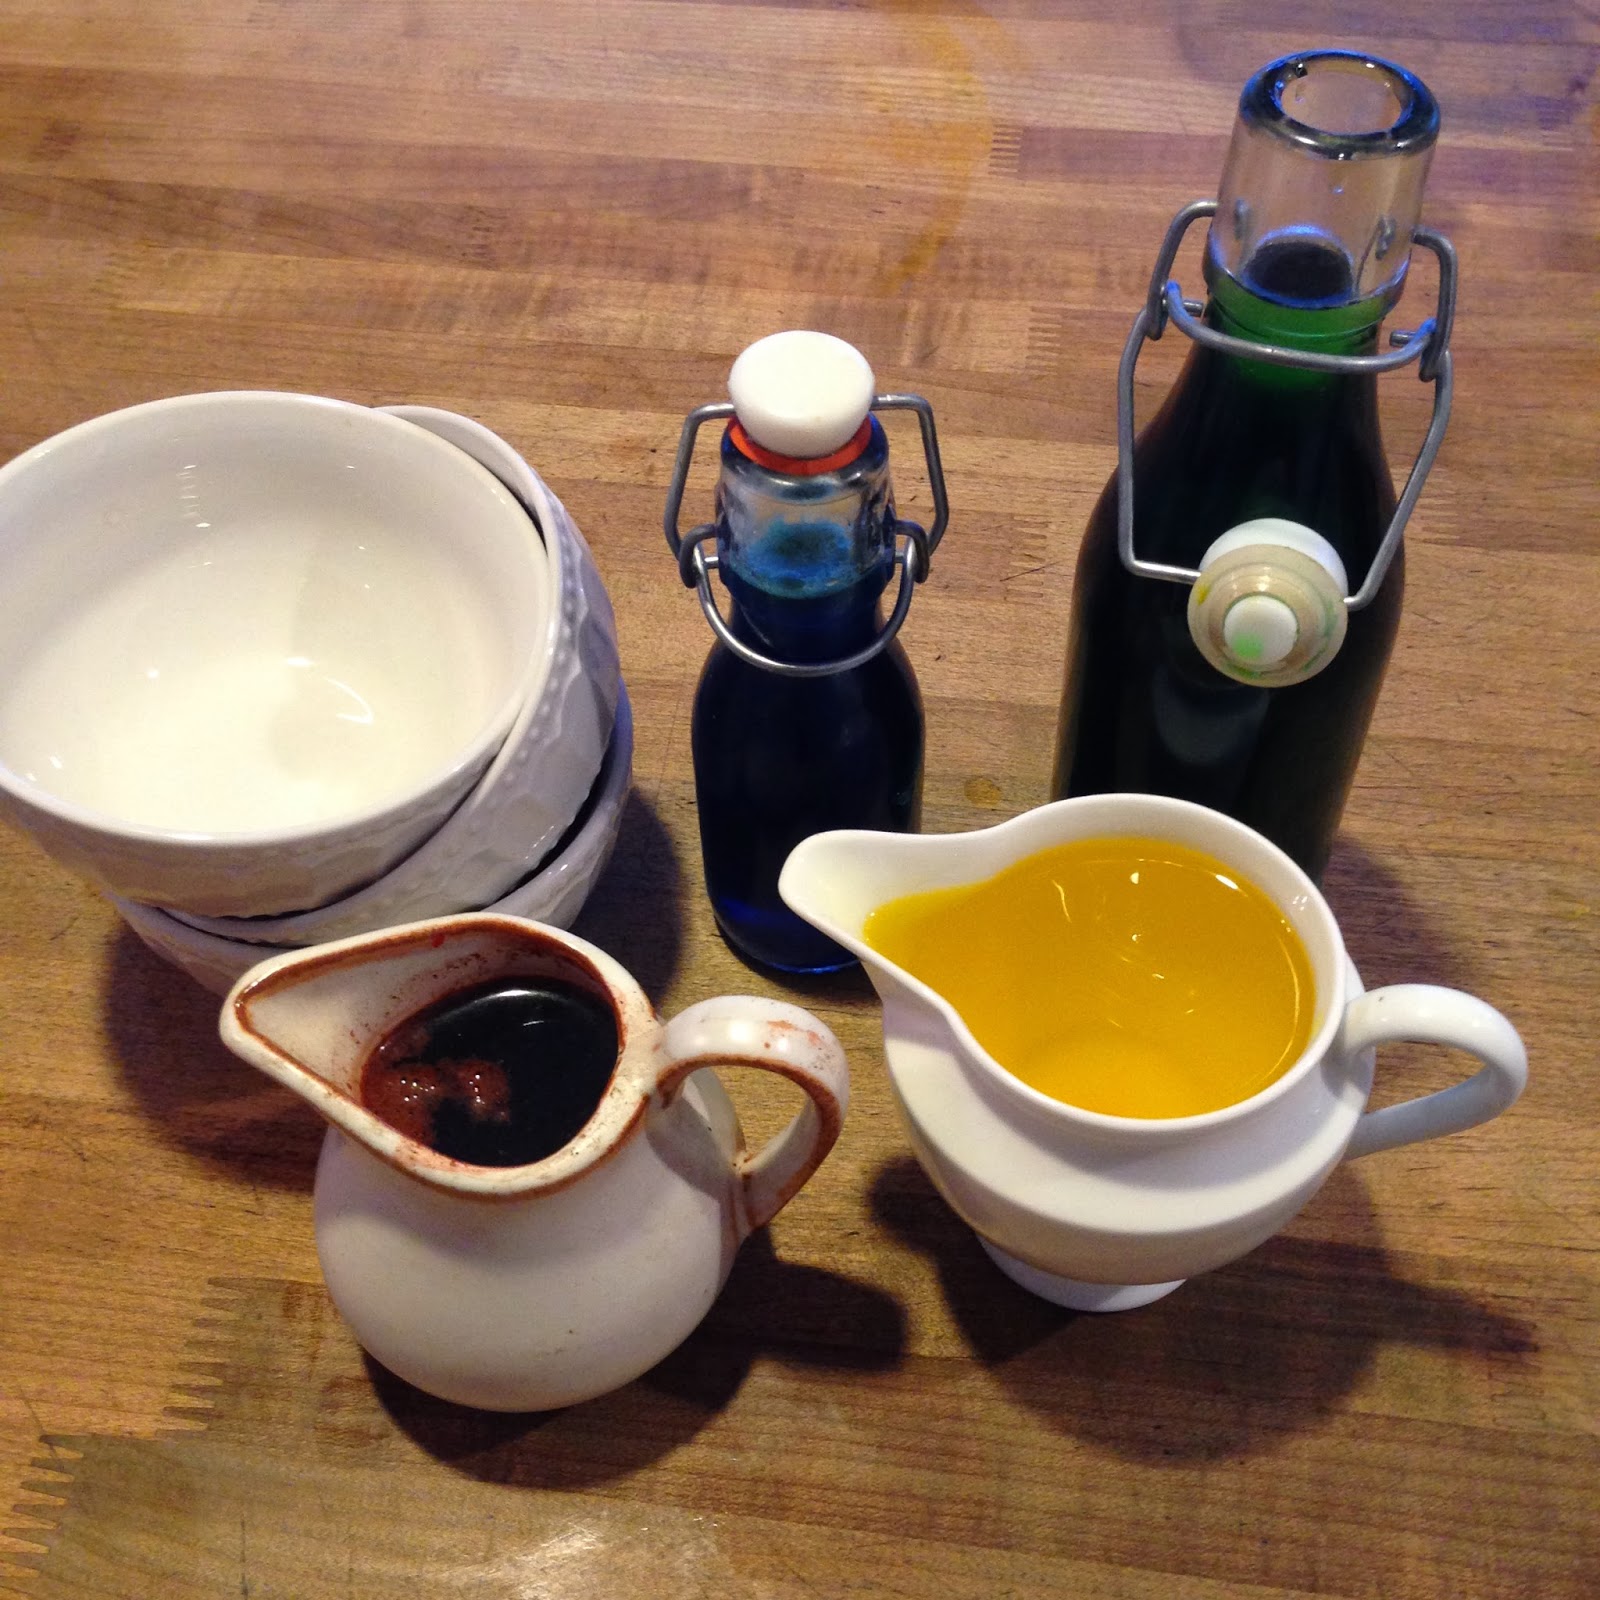
Mix flavorings, syrup and color
(Note: don’t pour too much syrup on. . .it travels down through the snow. If you keep pouring until the color reaches the bottom, it will be way too sweet.)
That’s all there is to it! Get creative with your flavorings, too. . .the basic simple syrup is a perfect foundation for all sorts of interesting flavors . . . coffee, cinnamon, fresh raspberries, etc. Let your imagination go wild!!!
It doesn’t melt as quickly when you pour the syrup on if you wait until it is very cold! 🙂

Be the first to comment on "Home Made Hawaiian Ice (Snow Cones)"