My grandma used to have a cute little electric yogurt maker she would fill with milk and a little starter, plug in at bedtime, and wake to a fresh batch. It was like magic. And the result was delicious!
Yogurt is probably the most well known and popular of probiotic foods. It’s literally TEEMING with those awesome little microorganisms (lactobacillus and bifidobacteria) that do so much good in our guts.
If you get the right kind, that is.
Many store brands are so processed and pasteurized that much, if not all, of the live and active cultures are killed. They’re then loaded with sugar and preservatives and artificial colors and such, and whatever benefits were there to begin with are diminished, if not totally obliterated.
Don’t get me wrong, there are some decent and healthy store brands, but they are usually a little costly for our budget. Our many kids would eat their body weight in yogurt if we let them, and those individual little pots of gold would break. The. Bank! Plus, even the best ones have gone through some processing and handling that kill off some of the beneficial bacteria.
So, making yogurt at home is not only the best way to get a healthy cultured product, literally teeming with beneficial microorganisms, it’s also enormously cheaper to do so. And though I don’t have a proper yogurt maker like my gram did, it’s still possible to easily make homemade yogurt in a standard kitchen. Here’s how:
Equipment:
- Large, heavy bottomed pot or Double Boiler
- Two large glass or ceramic casserole dishes with lids (large enough to hold a half gallon each)
- Cheesecloth (if you want Greek Style Yogurt)
- Colander (if you want Greek Style Yogurt)
- Large bowl (big enough to fit the colander completely inside) (if you want Greek Style Yogurt)
- Candy Thermometer
- Measuring Spoons
- Two small bowls
- Long wooden spoon
Ingredients:
- 1 Gallon 1 or 2% Milk (raw would be ideal, organic next best, but regular milk will also work so long as it isn’t ultra pasteurized), divided
- 5 Tablespoons Plain Yogurt (either your own active starter, or store bought organic with live cultures)
Method:
- Add all but 5 tablespoons of your milk to your heavy bottomed pot
- Attach your candy thermometer to the side of the pot
- Turn your stove setting to medium
- Stir constantly until the milk temperature reaches 180 degrees
- The moment 180 degrees is reached, take your pot off of the heat
- Very carefully (it will be HOT!) pour your milk into the casserole dishes, 1/2 gallon each
- Set dishes, uncovered (which is important!) on cooling racks and leave alone to cool
- Set your oven to 140 degrees
- Combine EXACTLY 2 1/2 Tablespoons of milk with EXACTLY 2 1/2 Tablespoons of yogurt in each of your small bowls
- Mix each one very well and set aside
- When the milk in your casserole dishes has cooled to between 105 and 110 degrees, add one bowl of your yogurt and milk mixture to EACH dish
- Stir each dish well to incorporate all of the yogurt
- Place lid on each casserole and wrap each one with a thick towel
- Turn your oven heat OFF, but turn the oven light ON
- Place the two casseroles side by side in the oven (this will help keep the warmth in)
- Work quickly so that what heat you have accumulated will not escape
- Make sure that your towels are not touching the lightbulb (fire risk!)
- Make sure the oven door is tightly closed and the oven light remains on
- Leave for 8 hours or overnight
- Check for thickness. If it is to your liking, remove from oven. If it still seems a little thin, return it to the oven for another hour or so.
- If you were looking for regular yogurt, stop when it’s thickened to your preference, stir it well and refrigerate. It’s ready for use!
If, however, you are wanting Greek style yogurt (creamy, mild, thick and GORGEOUS), which I prefer, follow these steps:
- Refrigerate your yogurt for four hours so that it cools completely.
- It will thicken as it cools
- Line a colander with four layers of cheesecloth that has been dampened slightly
- Pour your cooled yogurt in (as much as the colander can easily hold)
- Put the colander inside your big bowl (to catch the whey)
- Put the whole thing back in the fridge for an hour
- Save the whey that has been drained out for baking or drinking, if you wish, or discard
- Spoon yogurt into a tight-lidded container and return to fridge
- Should be good for up to six days.
Notes:
If your oven doesn’t have a light bulb that emits enough heat, you can set your towel-covered dishes on a good heating pad, set on low as an alternative
This makes a mild, creamy yogurt. . .not tart or sour like some store bought
You can half the recipe if you need to, though you might want to try using it in cooking (curries!), to marinate meats, or in your ice cream maker (can you say ‘frozen yogurt??’)
Add in berries or honey or a spoonful of jam if you like. Delicious!
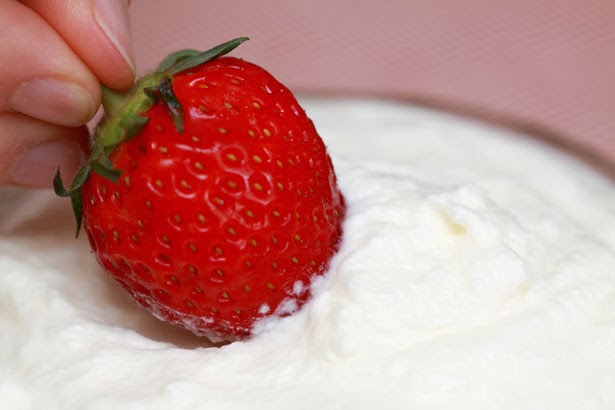
(photo courtesy of publicdomainpictures.net and can be found here)


Be the first to comment on "How to Make Homemade Yogurt: Probiotic Foods"